How to Create Your MakeForms Account
Setting up your MakeForms account only takes a few moments, and this guide will walk you through each step. Whether you're signing up with Google or using your own email, the process is simple, secure, and designed to get you into the dashboard quickly. Follow the steps below to get started.
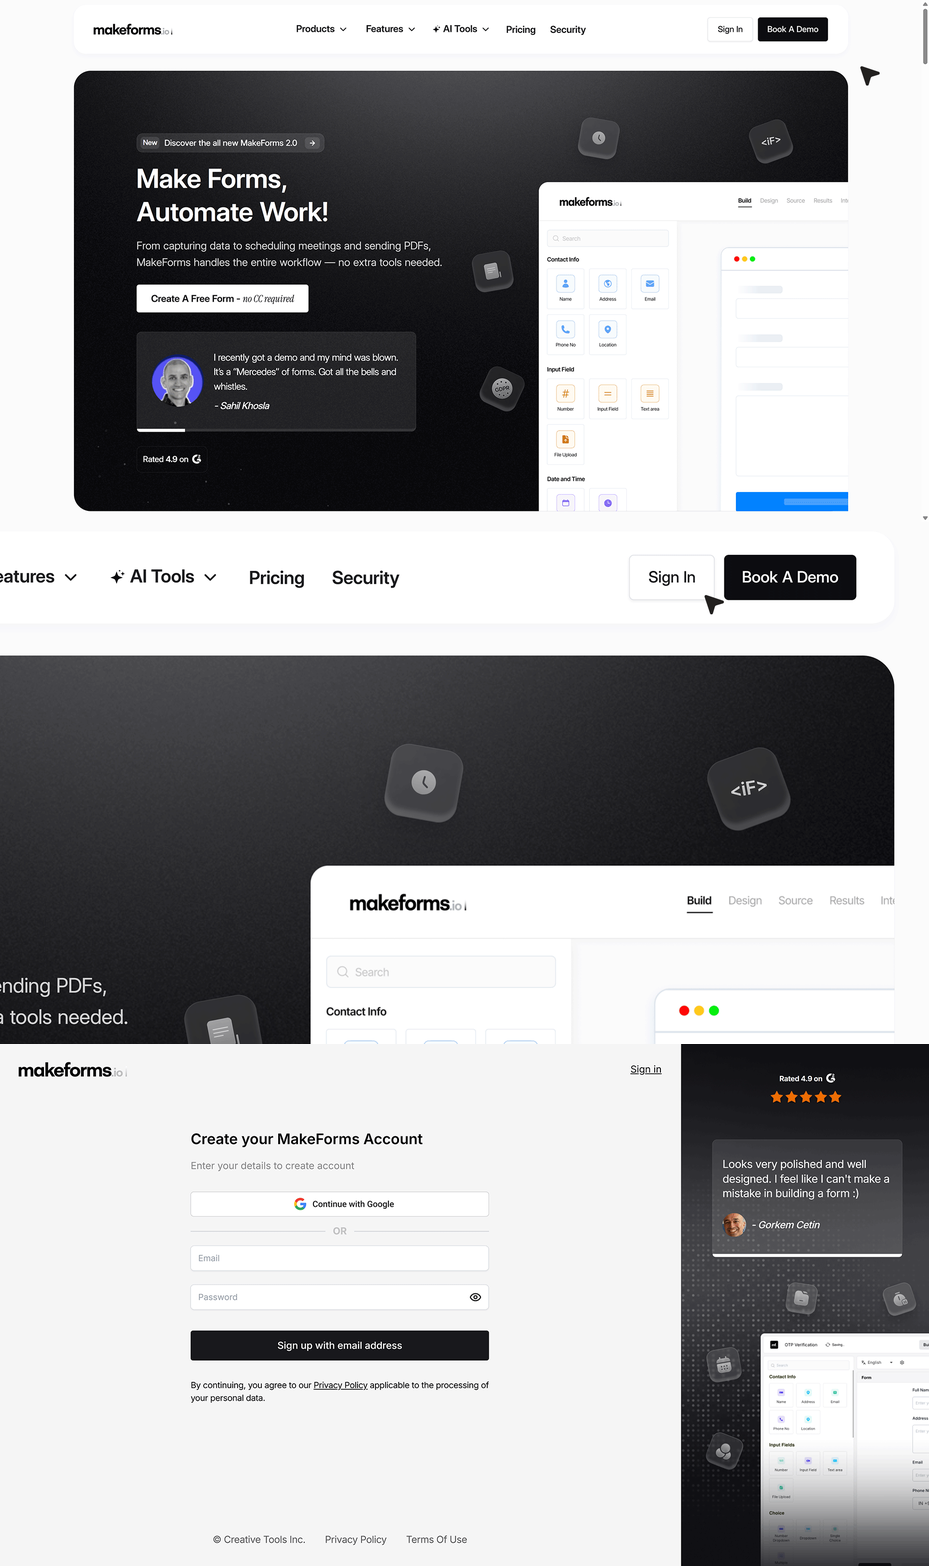
- To begin, visit the MakeForms website and open the Sign In page from the top navigation. You’ll see two ways to create your account. You can sign up instantly using Continue with Google or choose Sign Up with Email to create your account manually.
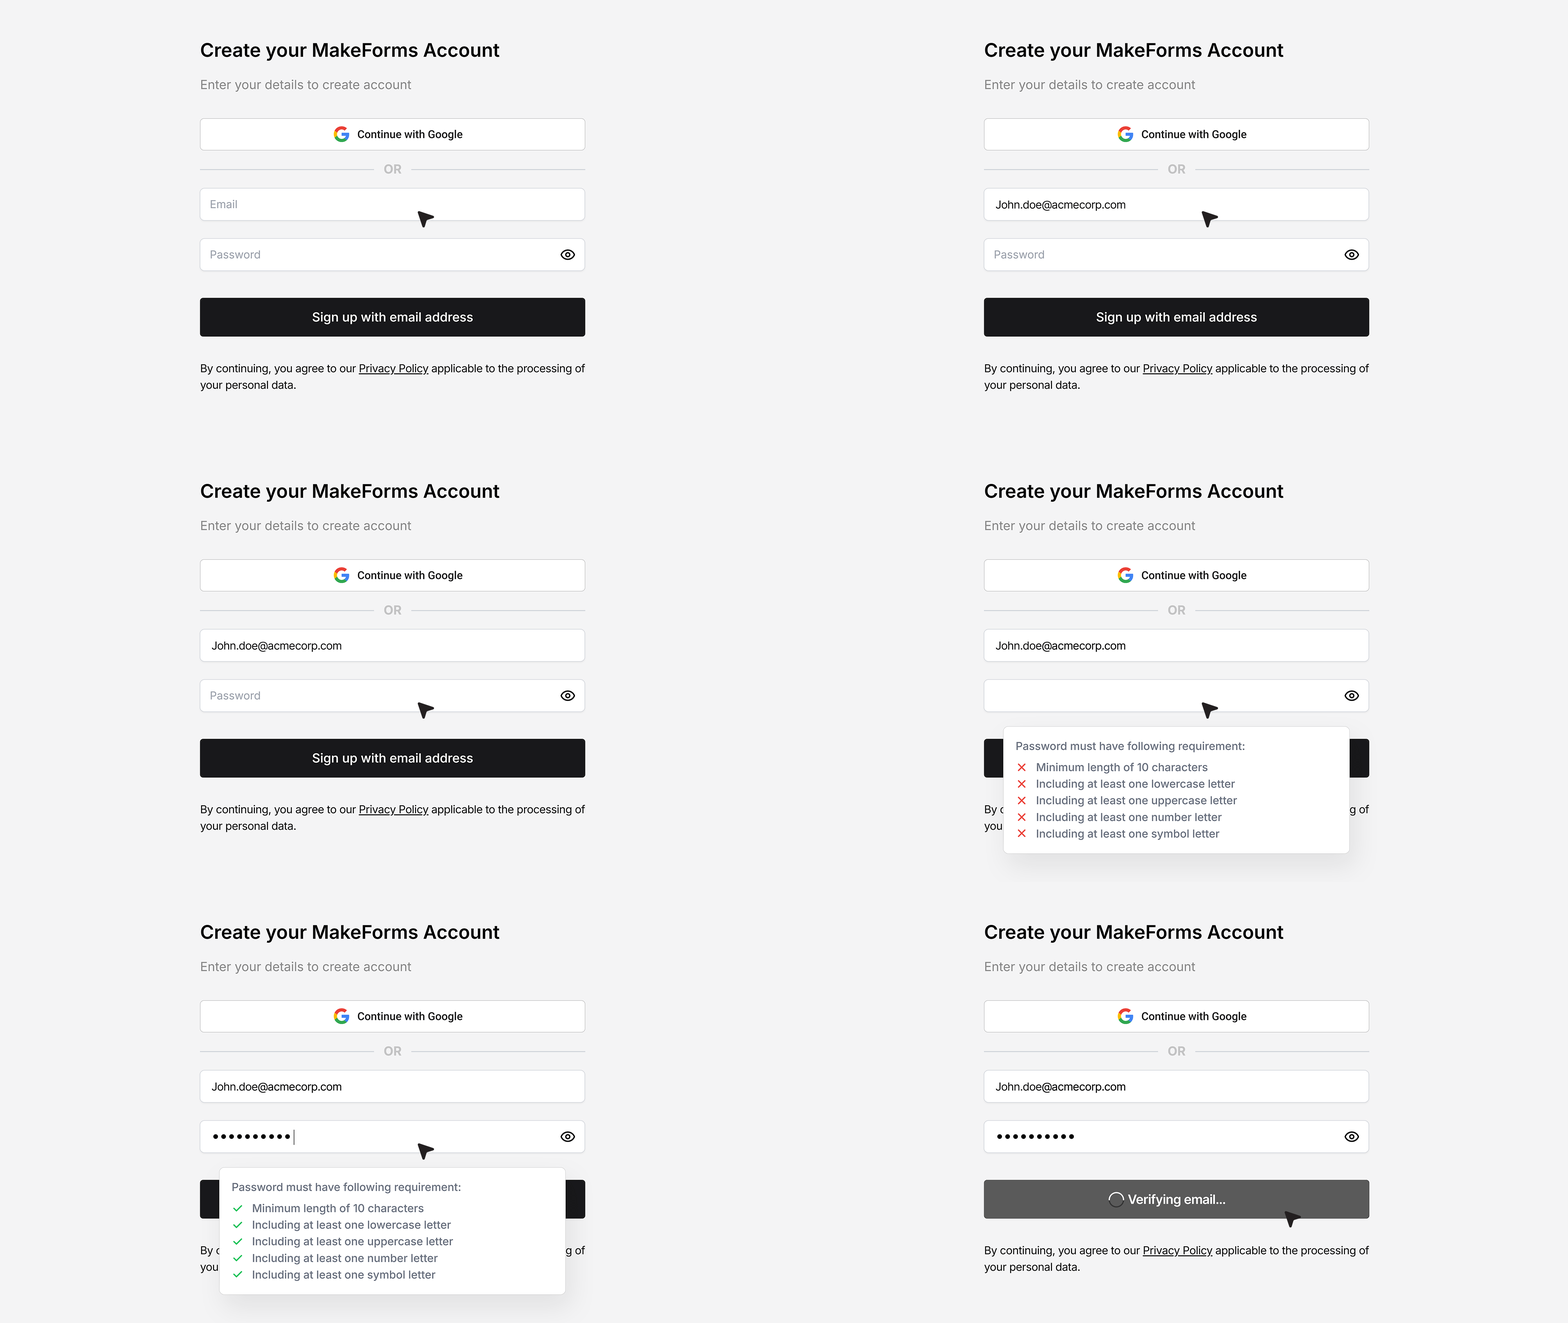
- If you choose to sign up with email, enter your email address and create a password. As you type, MakeForms shows the password rules in real time, helping you meet all requirements without confusion. Once everything is valid, the system verifies your details and moves you to the next step.
- Next, you’ll select the region where your form data will be stored. Canada, Singapore, and Australia are Pro-only regions, and choosing any of them starts a 7-day Pro trial automatically. After the trial, your account will be locked. Additional Enterprise-only regions also appear below, and you can book a call if you want to activate them.
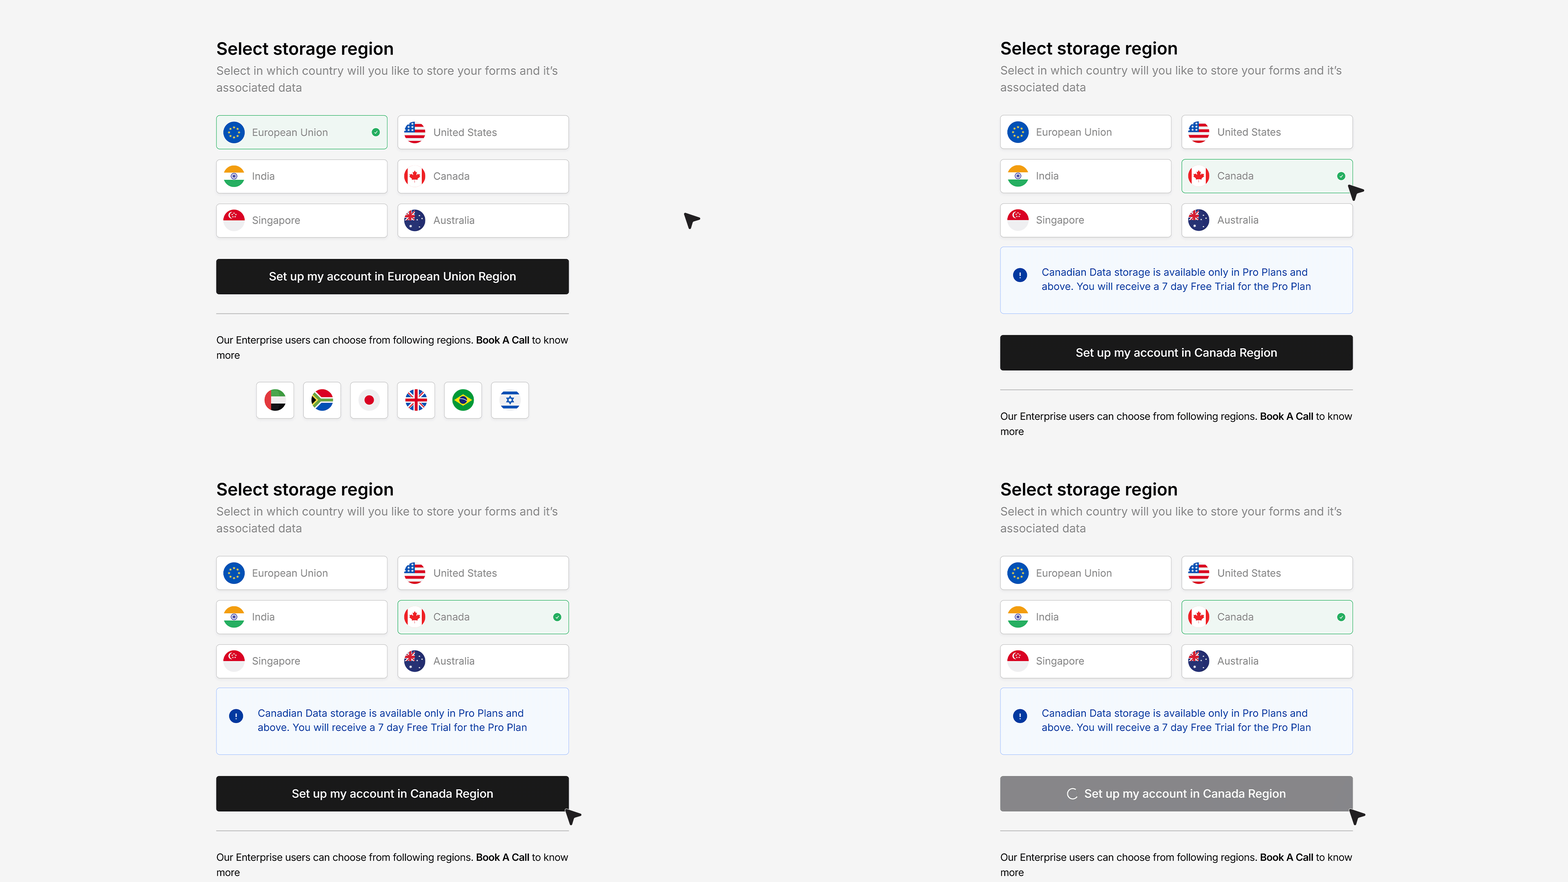
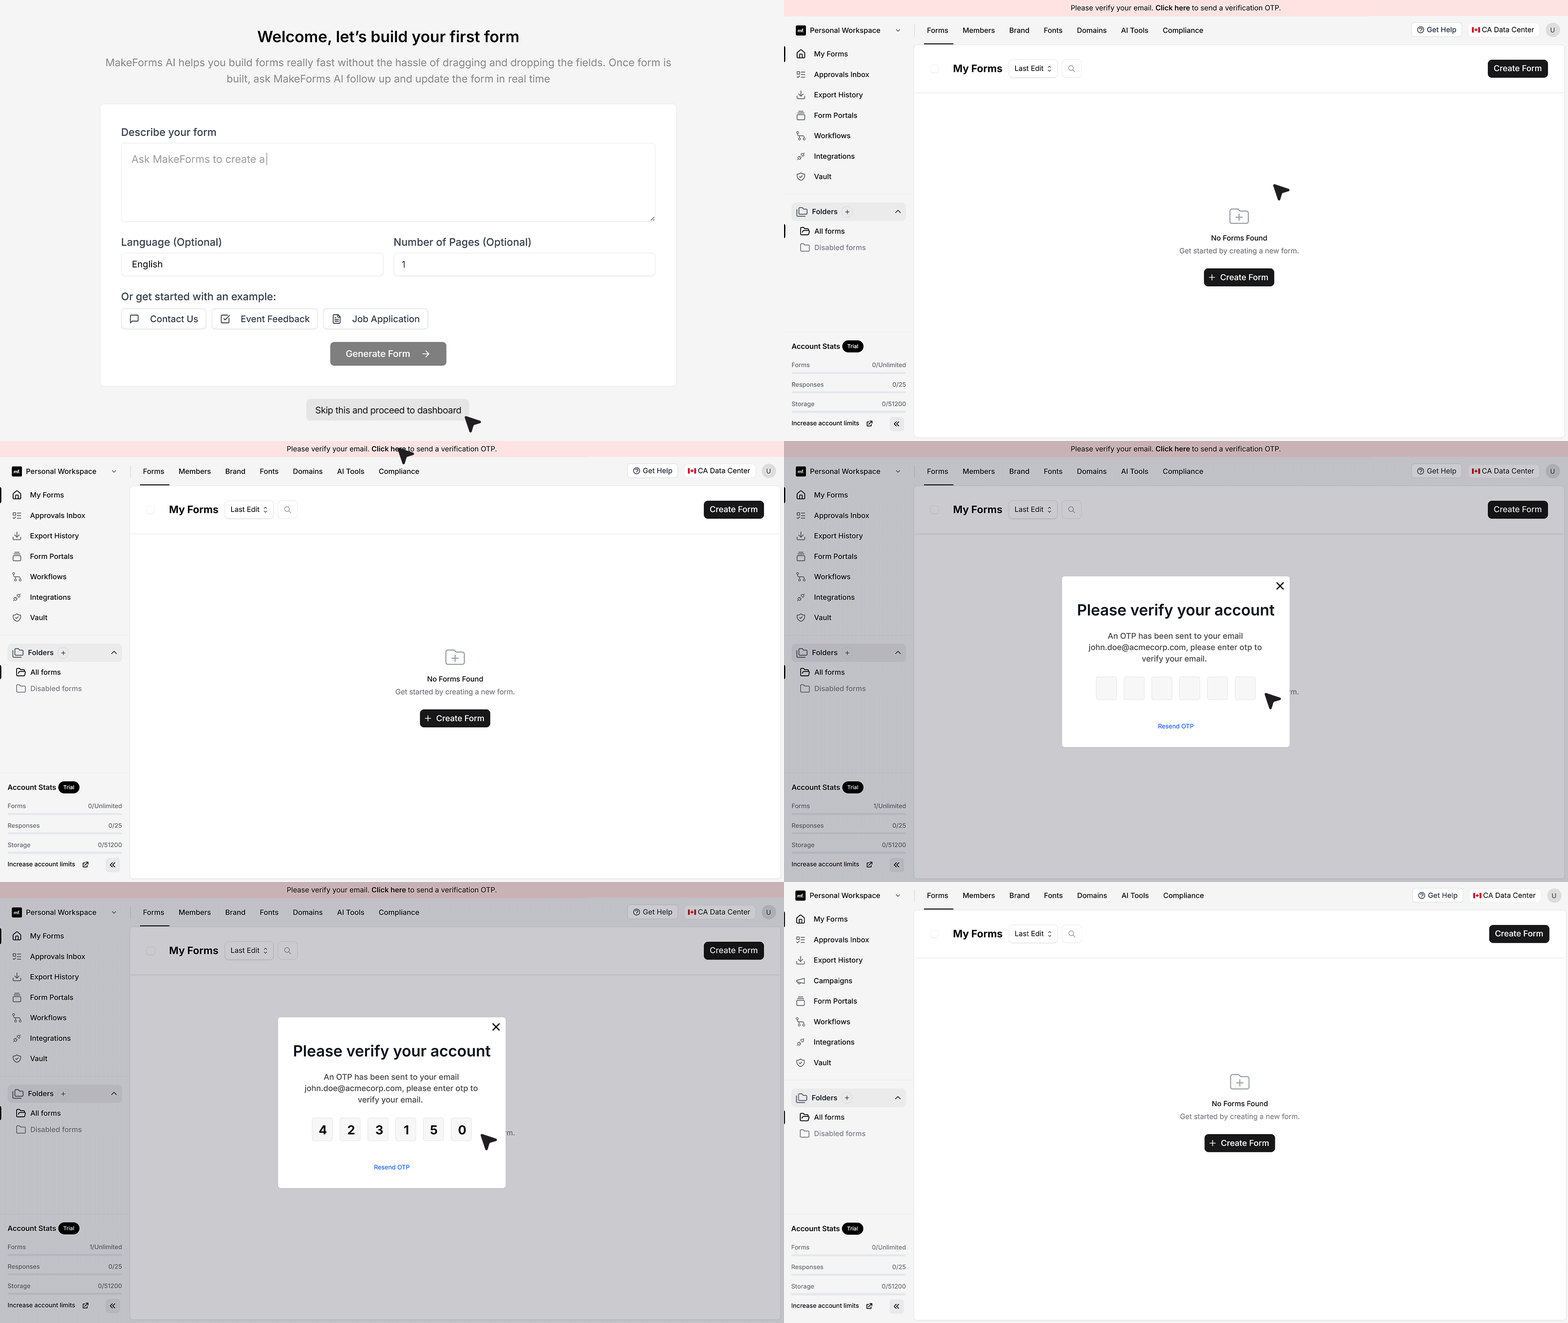
- Select your preferred region and click Set Up My Account to complete the setup. After that, MakeForms gives you the option to start building your first form or skip this step and continue.
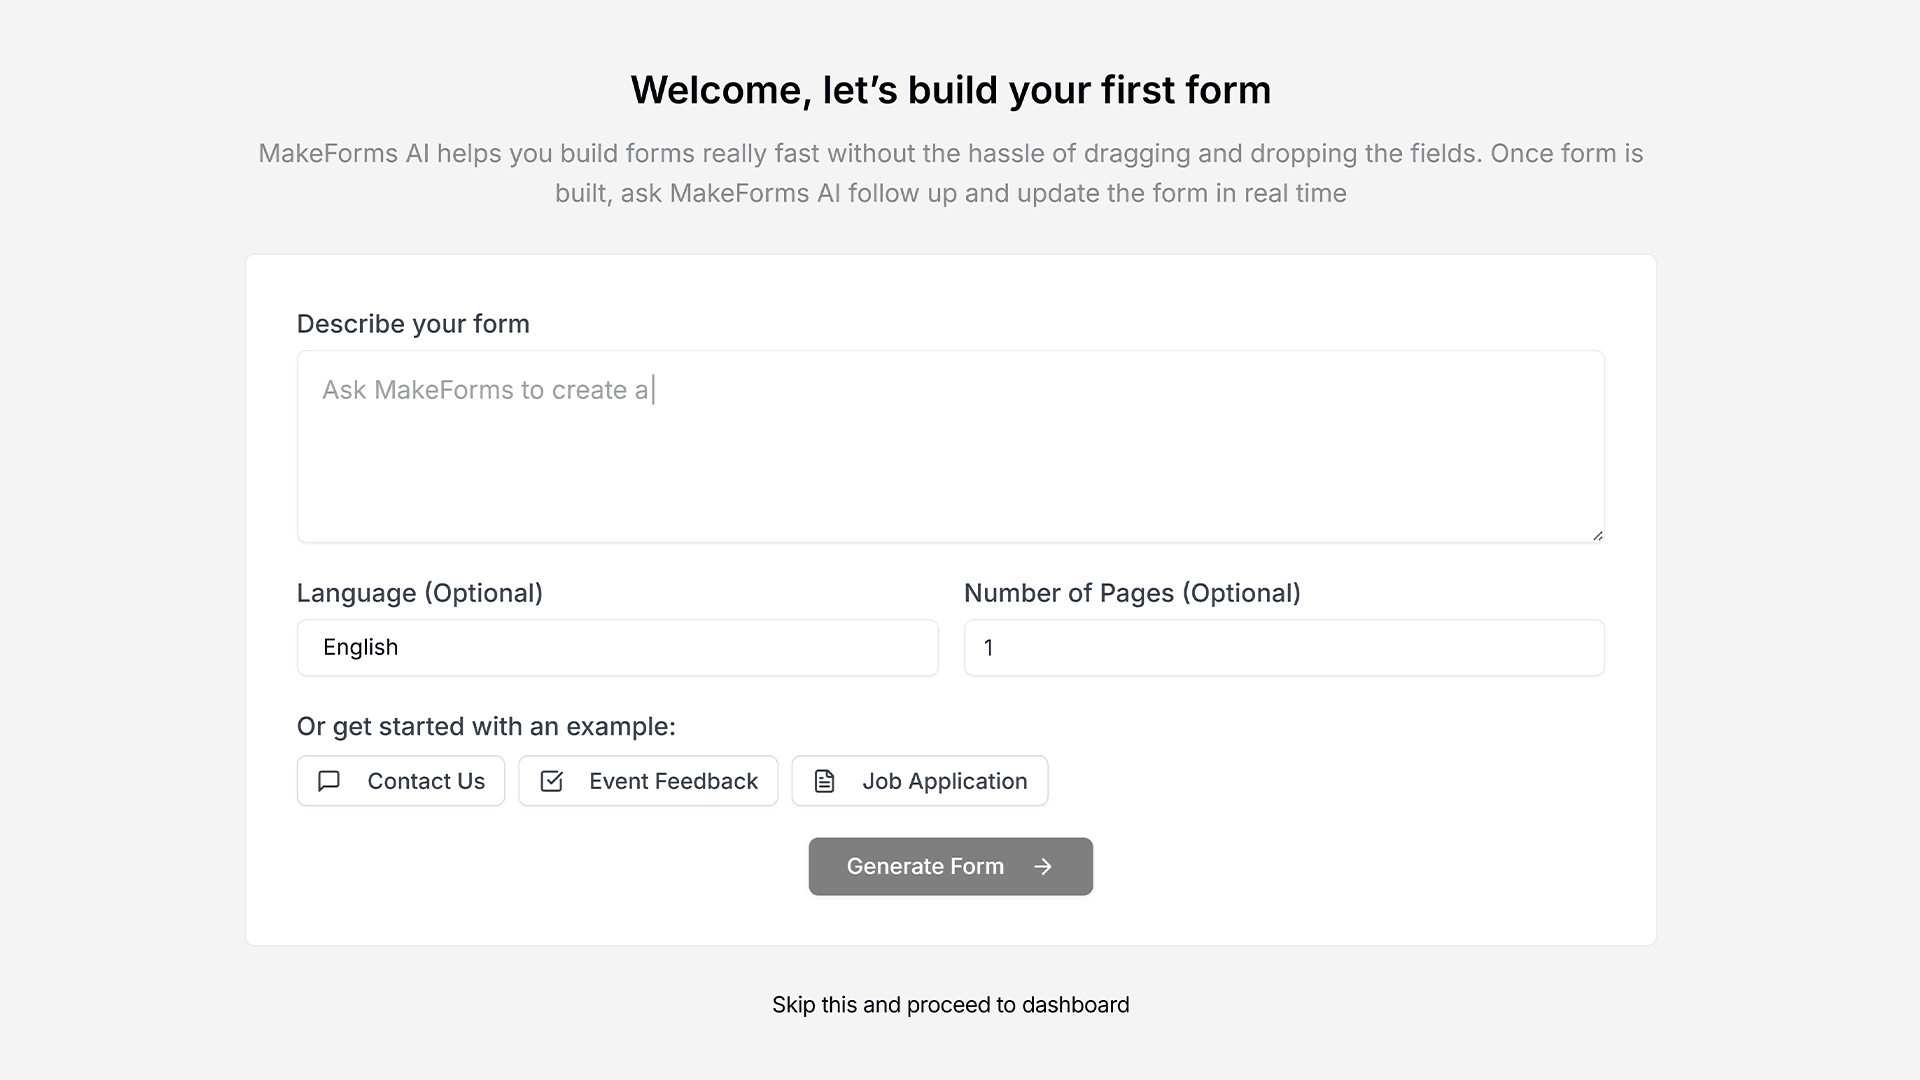
- If you skip, the dashboard opens right away and displays a prompt at the top asking you to verify your email. Click Send OTP, enter the code you receive, and complete the verification. Once done, your dashboard updates to show your active trial status and the data center you selected.