How to Create and Manage WorkSpaces and Data Regions
WorkSpaces in MakeForms are a powerful way to organize your teams, projects, and data. They allow you to separate work by department e.g., Sales, HR, Support, ensuring data remains secure and organized.
A key feature of creating a WorkSpace is selecting a Data Region. This lets you choose the location (e.g., Europe, United States, Australia) where your form data will be stored. This is essential for complying with local data privacy rules (like GDPR) and building trust with users by keeping their data within their region.
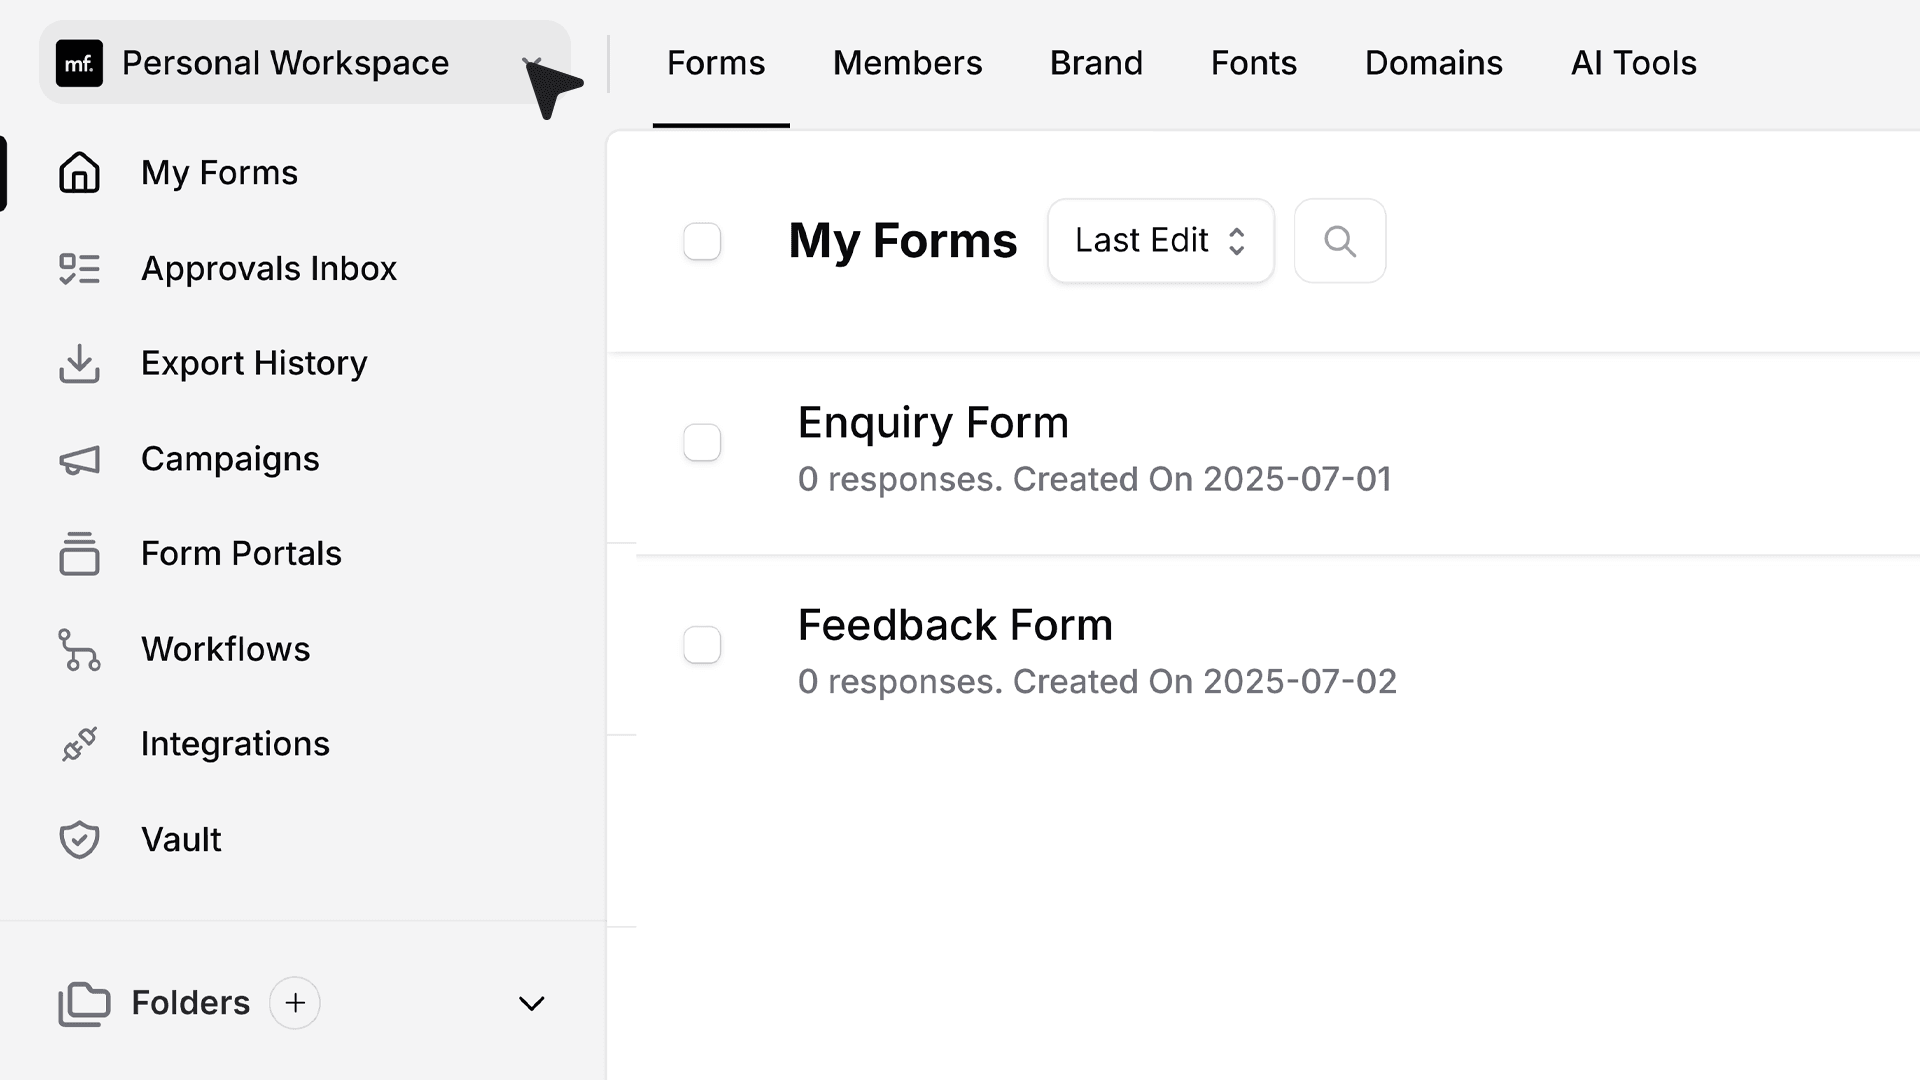
- From your main dashboard, locate your currently active workspace by default, this is your “Personal WorkSpace” in the top menu. Click on its name to open the WorkSpace options dropdown.
- To create a new WorkSpace, select “New Workspace.” A window will appear. First, type a name for your new WorkSpace.
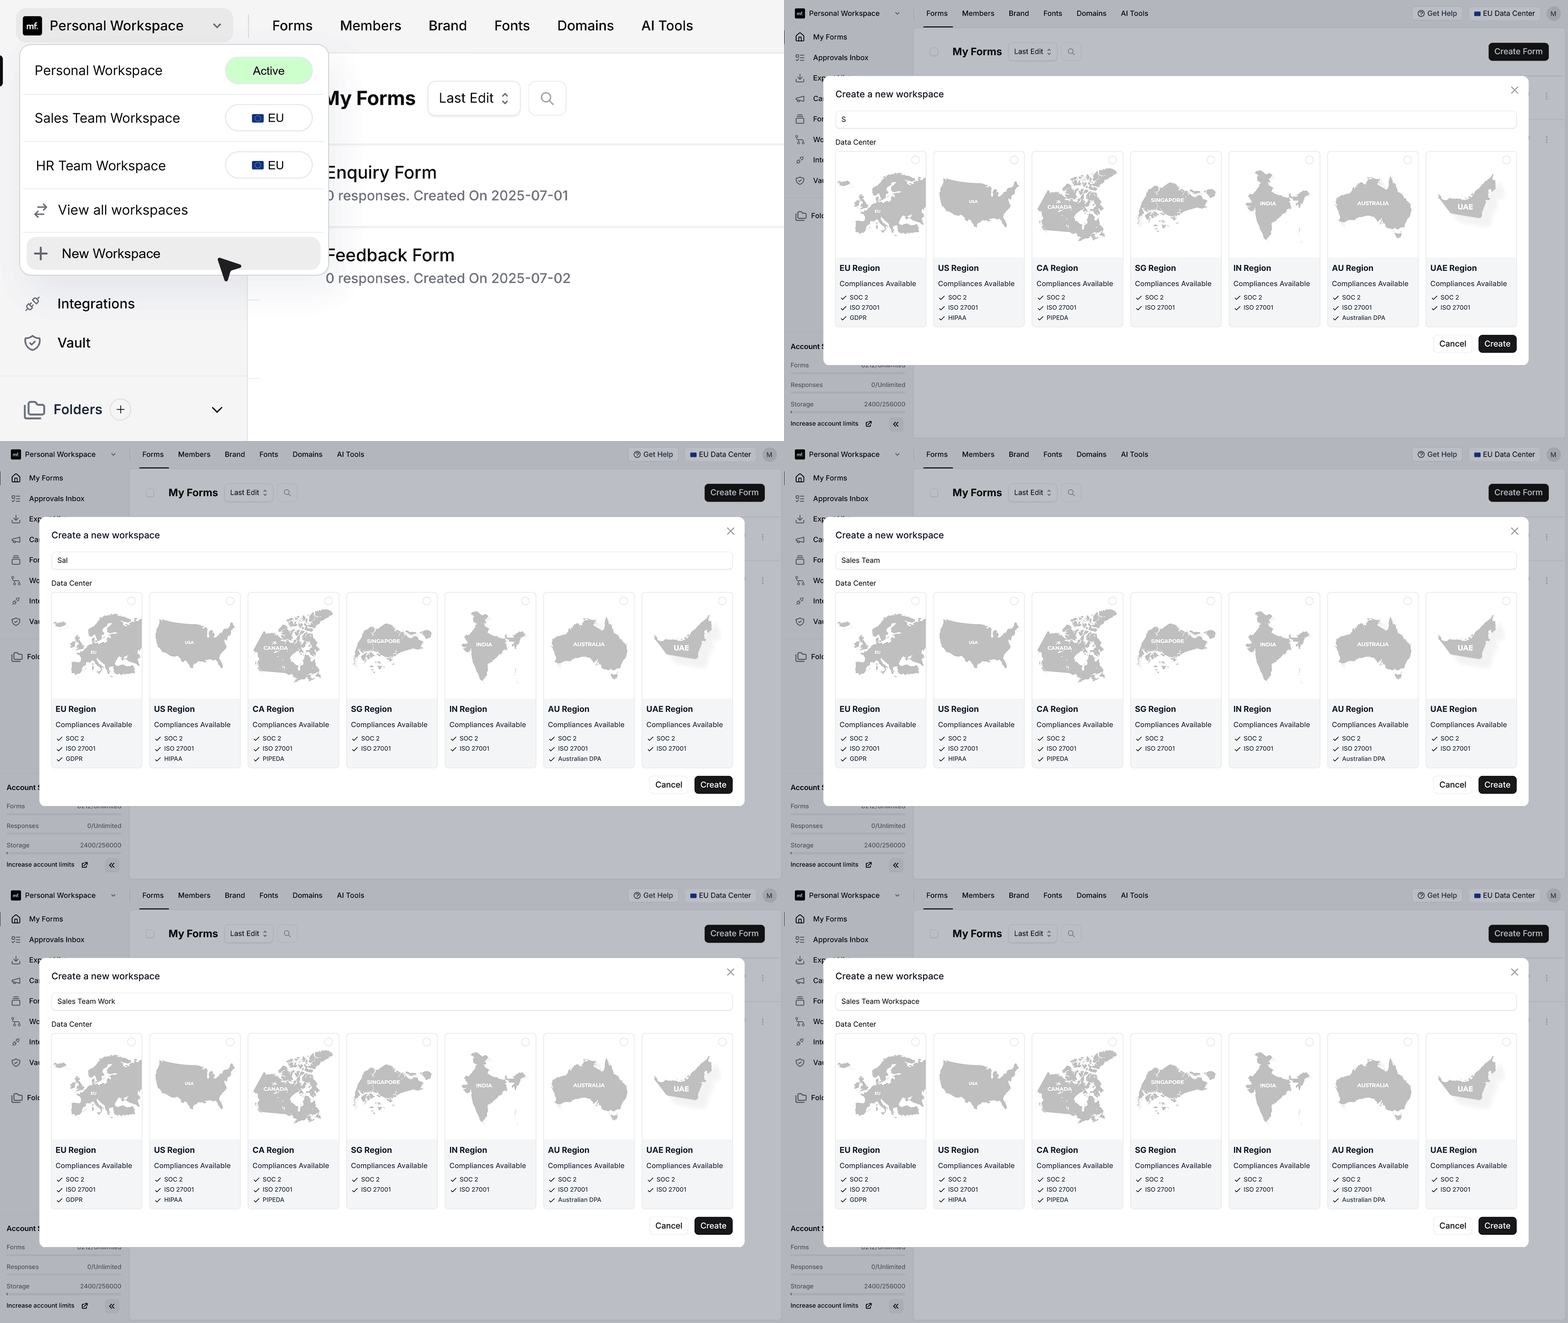
- Next, you must Select a Data Region. MakeForms supports data storage in 7 regions: Europe (EU), United States (US), Singapore (SG), Canada (CA), India (IN), Australia (AU) and United Arab Emirates (UAE). Choose the data region that matches your compliance and data storage requirements, then click Create.
Important Note: Once you select a Data Region for a WorkSpace, it cannot be changed later. Please choose carefully to ensure you meet all your compliance needs.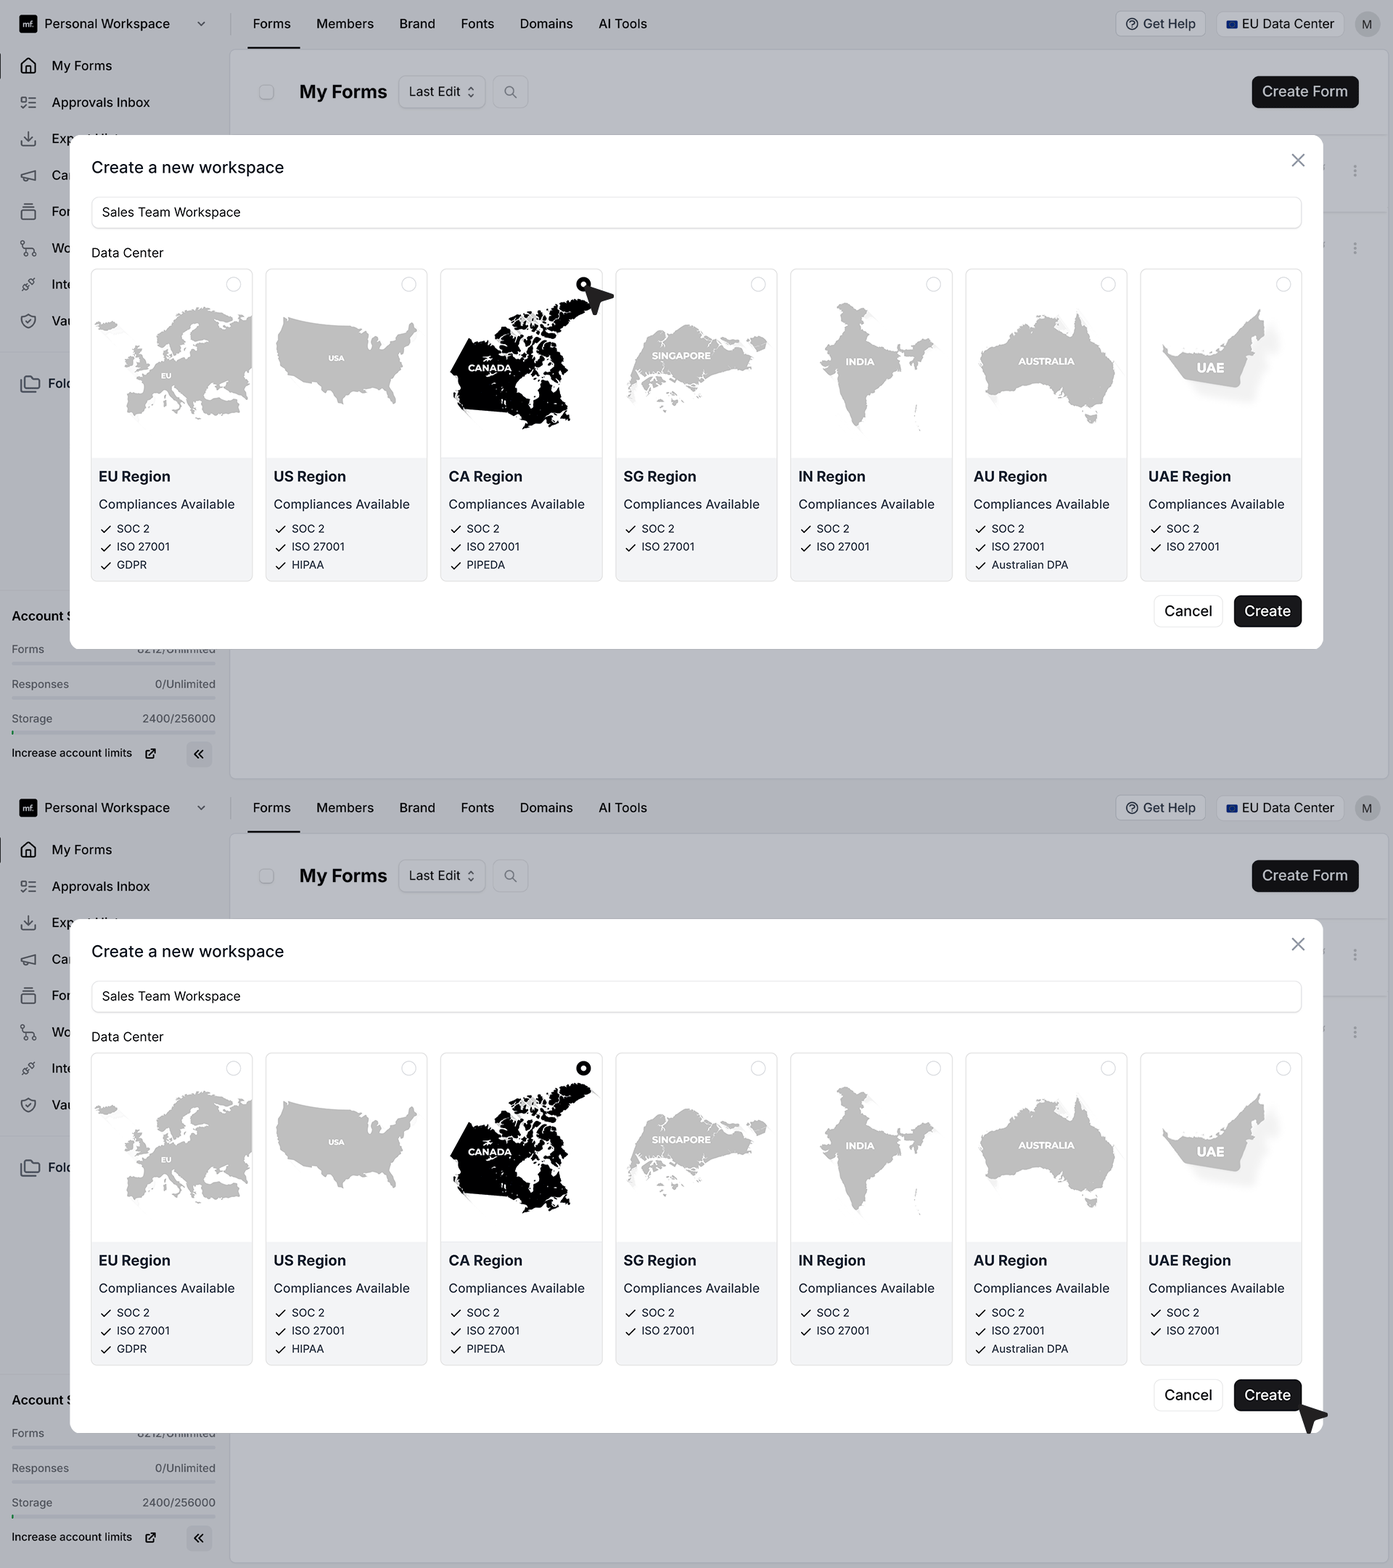
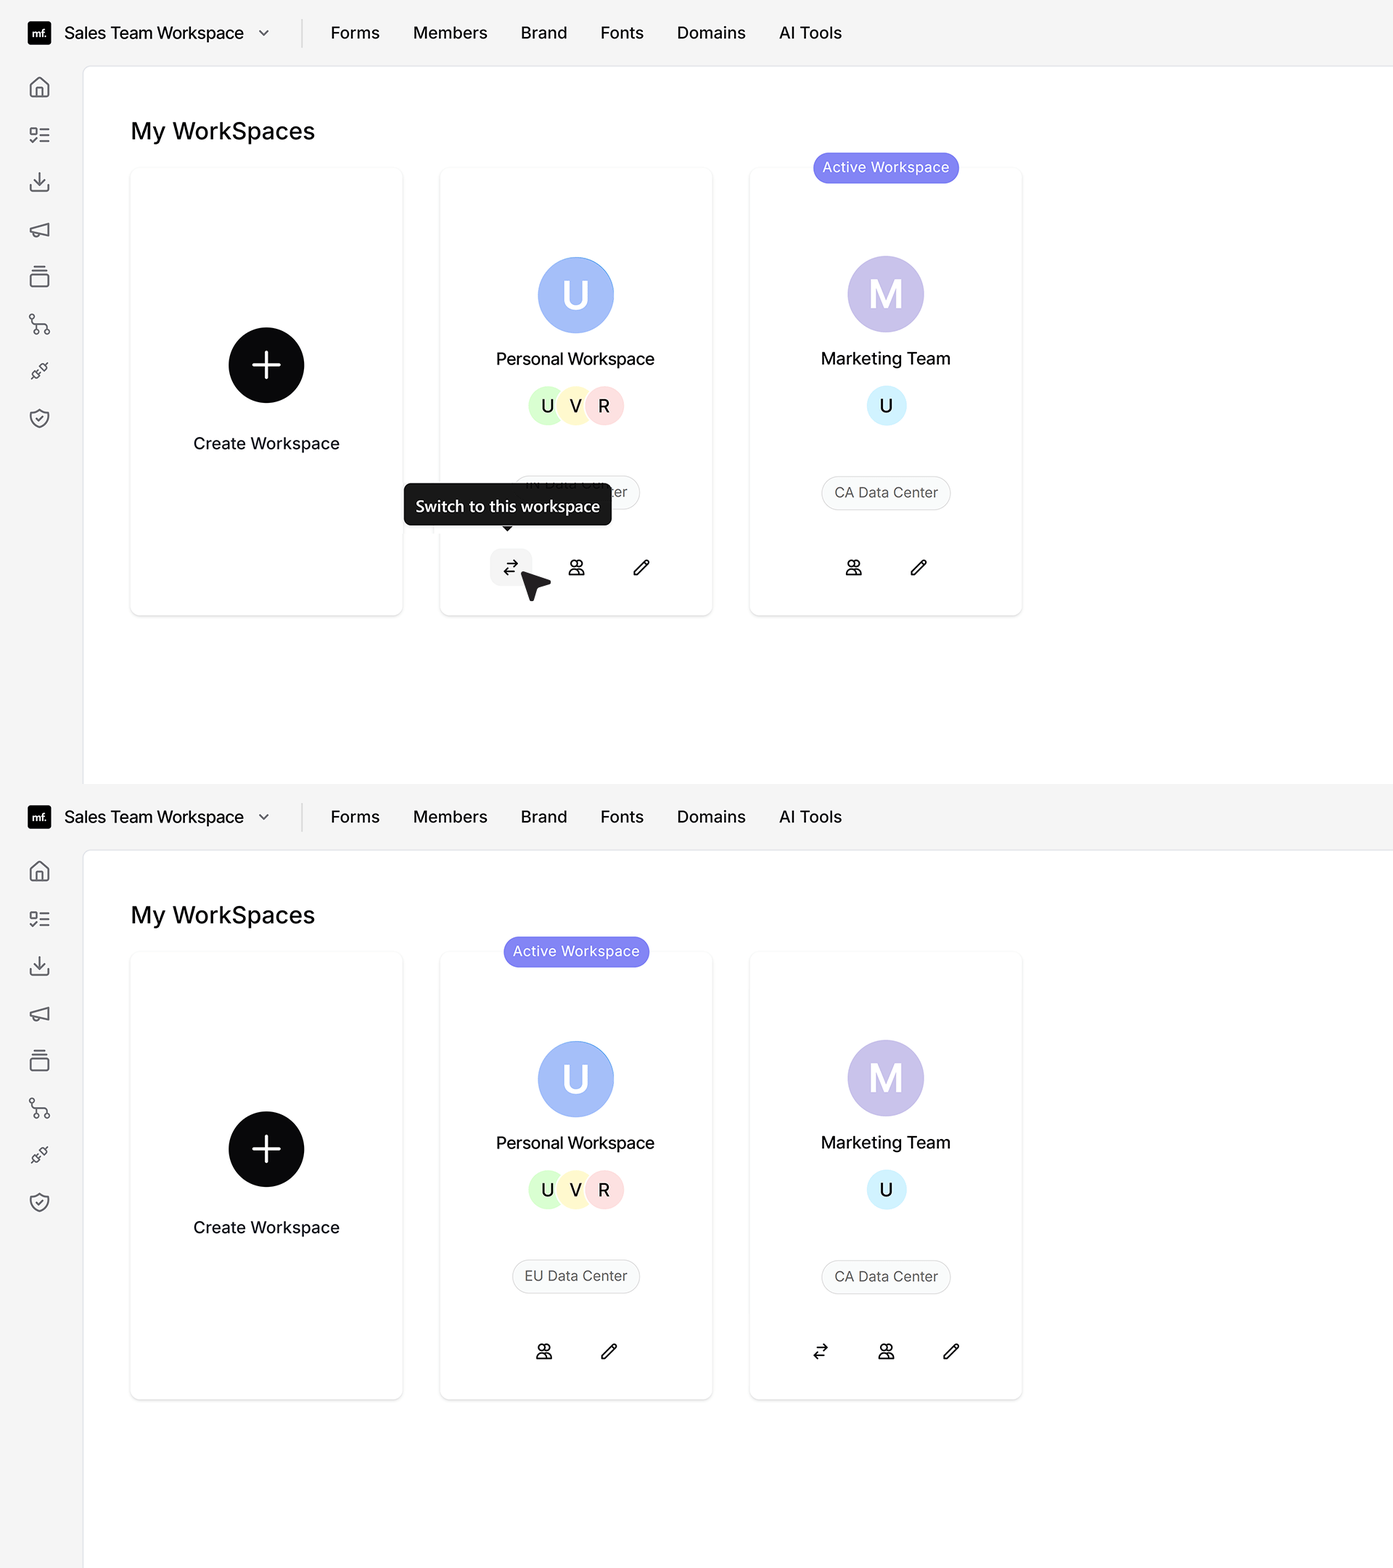
- Your new WorkSpace will now appear in your list and will become the active WorkSpace.
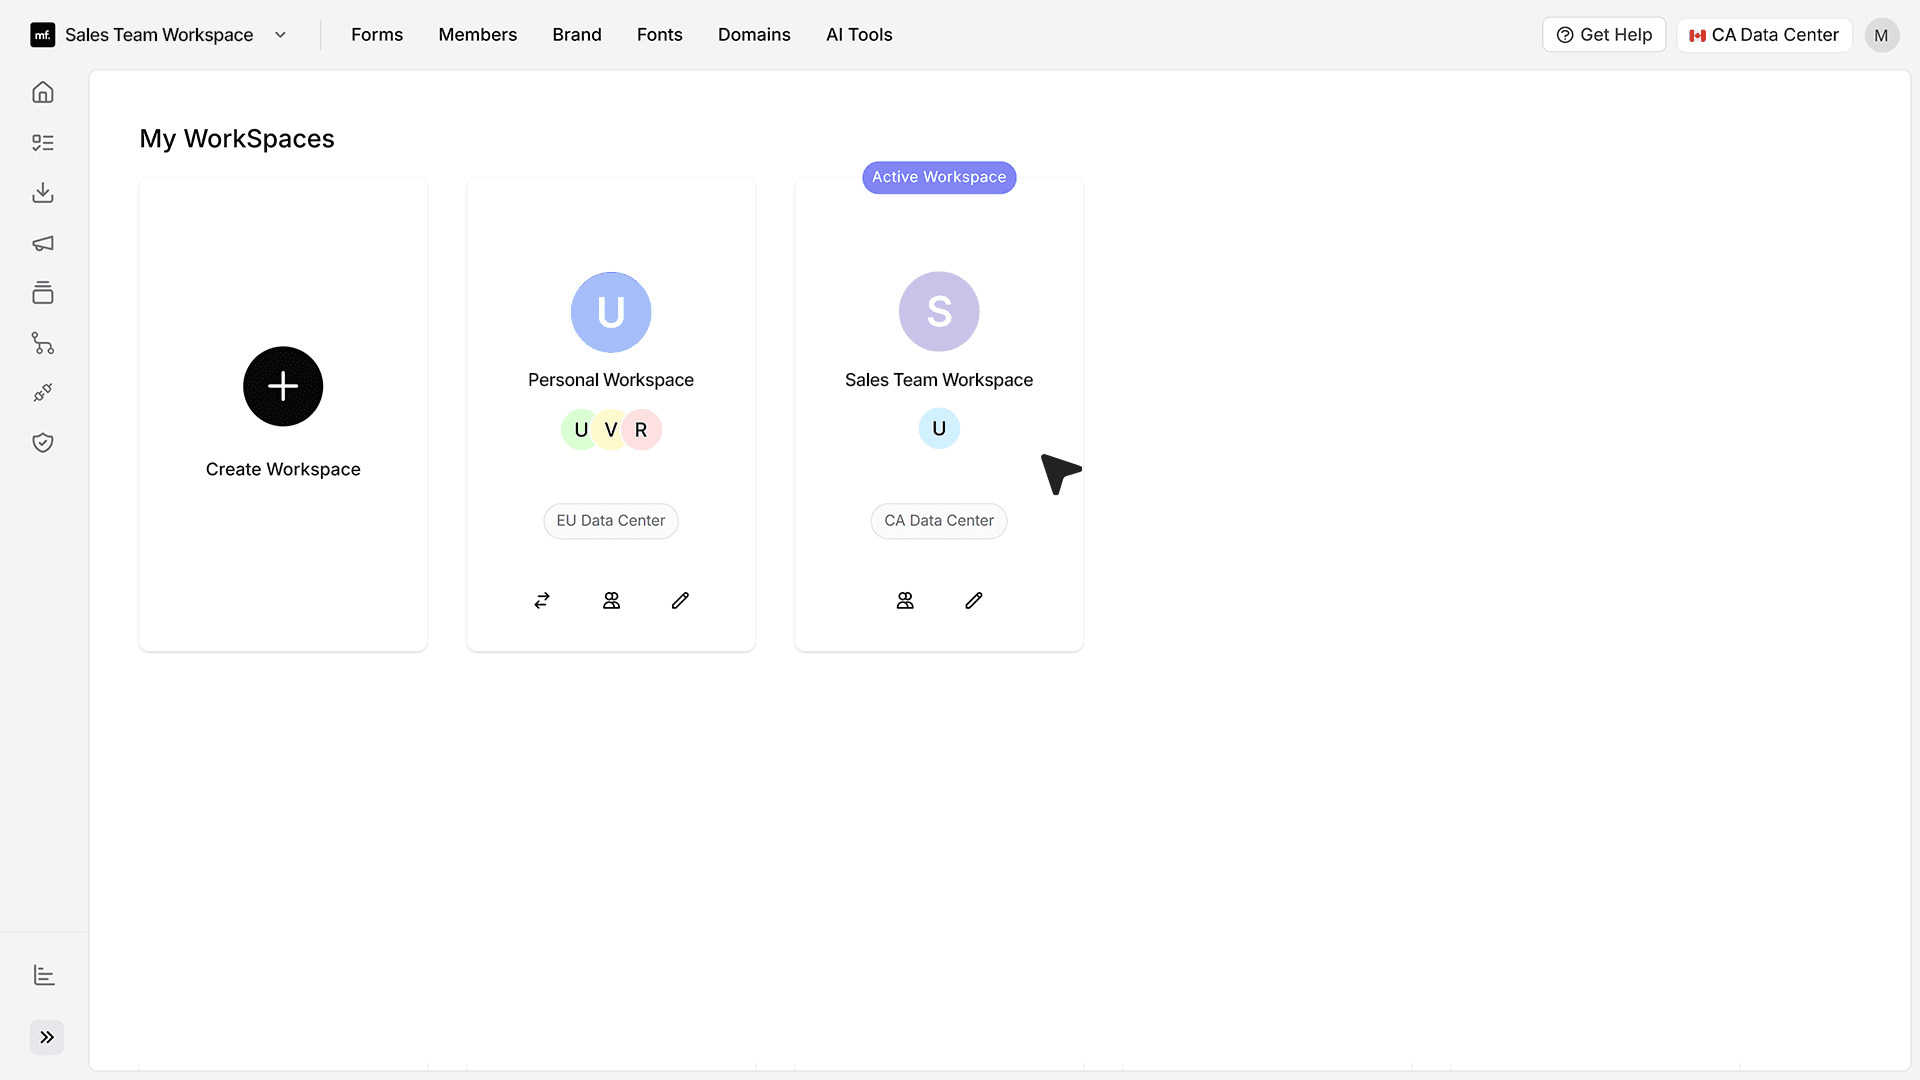
- To add or remove people, you can select the Manage Team. This allows you to control who can access and collaborate on the forms and data within that space.
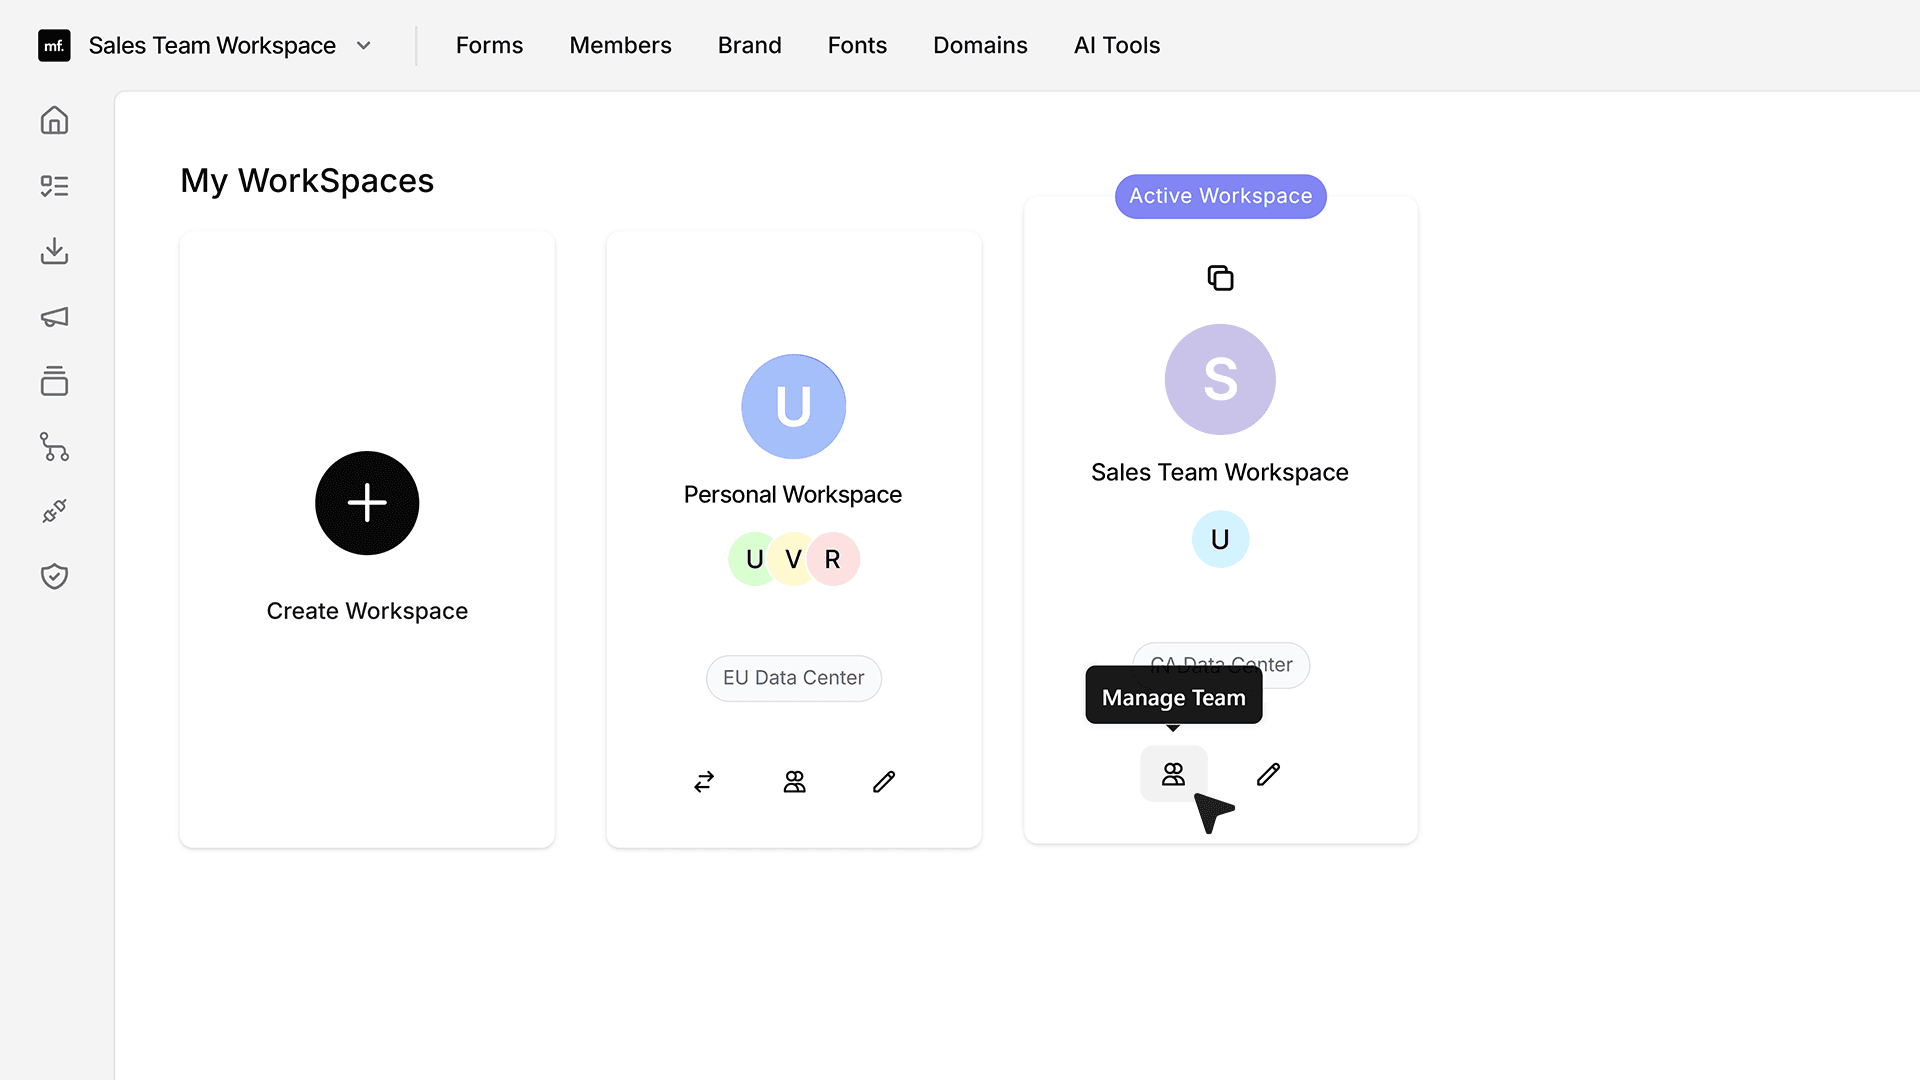
- To change the name of your WorkSpace, click the “edit” icon. Input the desired name for your WorkSpace and click the “Update” button.
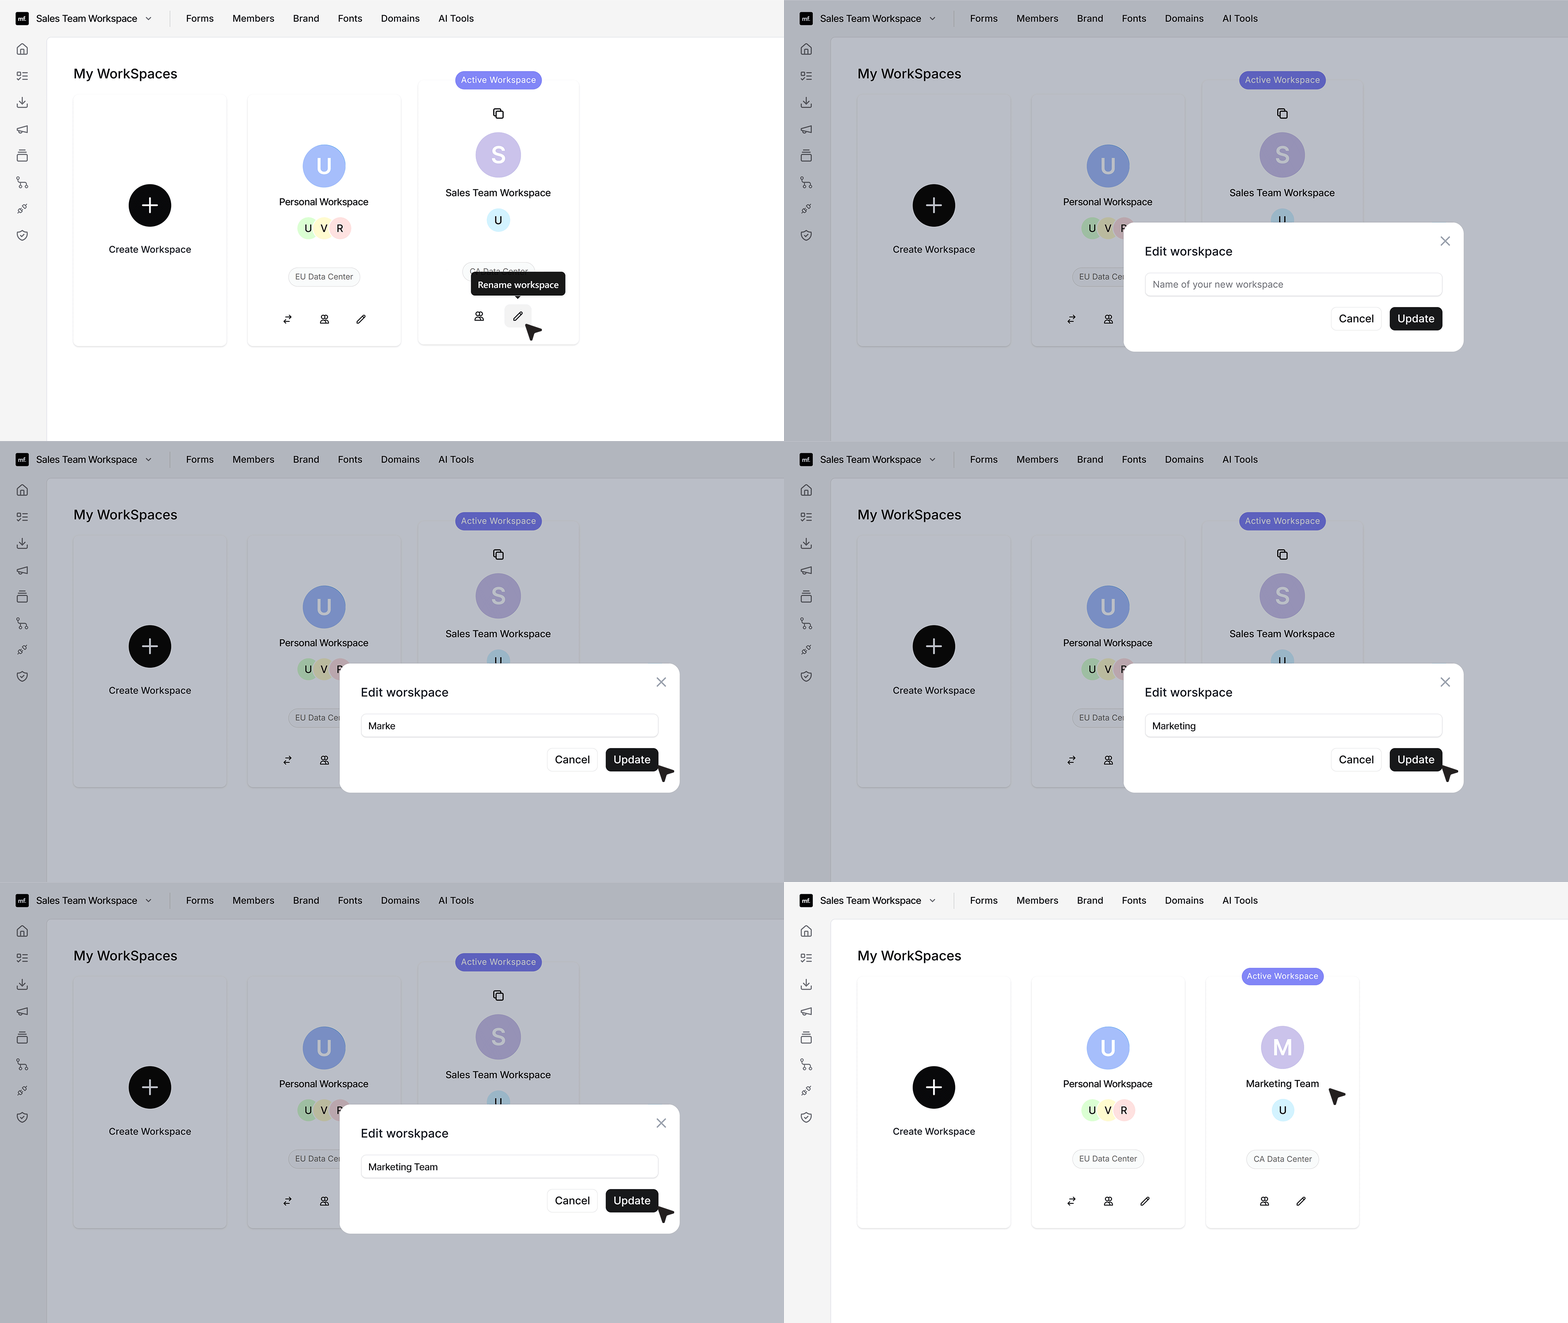
- You can move from one WorkSpace to another if you have more than one created. To switch the WorkSpace, click the switch icon.