Heading Field
The Heading field in MakeForms is used for the main title and subheading of your form. It is the first thing people see and tells them what the form is about before they start filling anything. You can only add one Heading field in each form. It is meant to sit at the top as the main title block.
Adding a Heading field
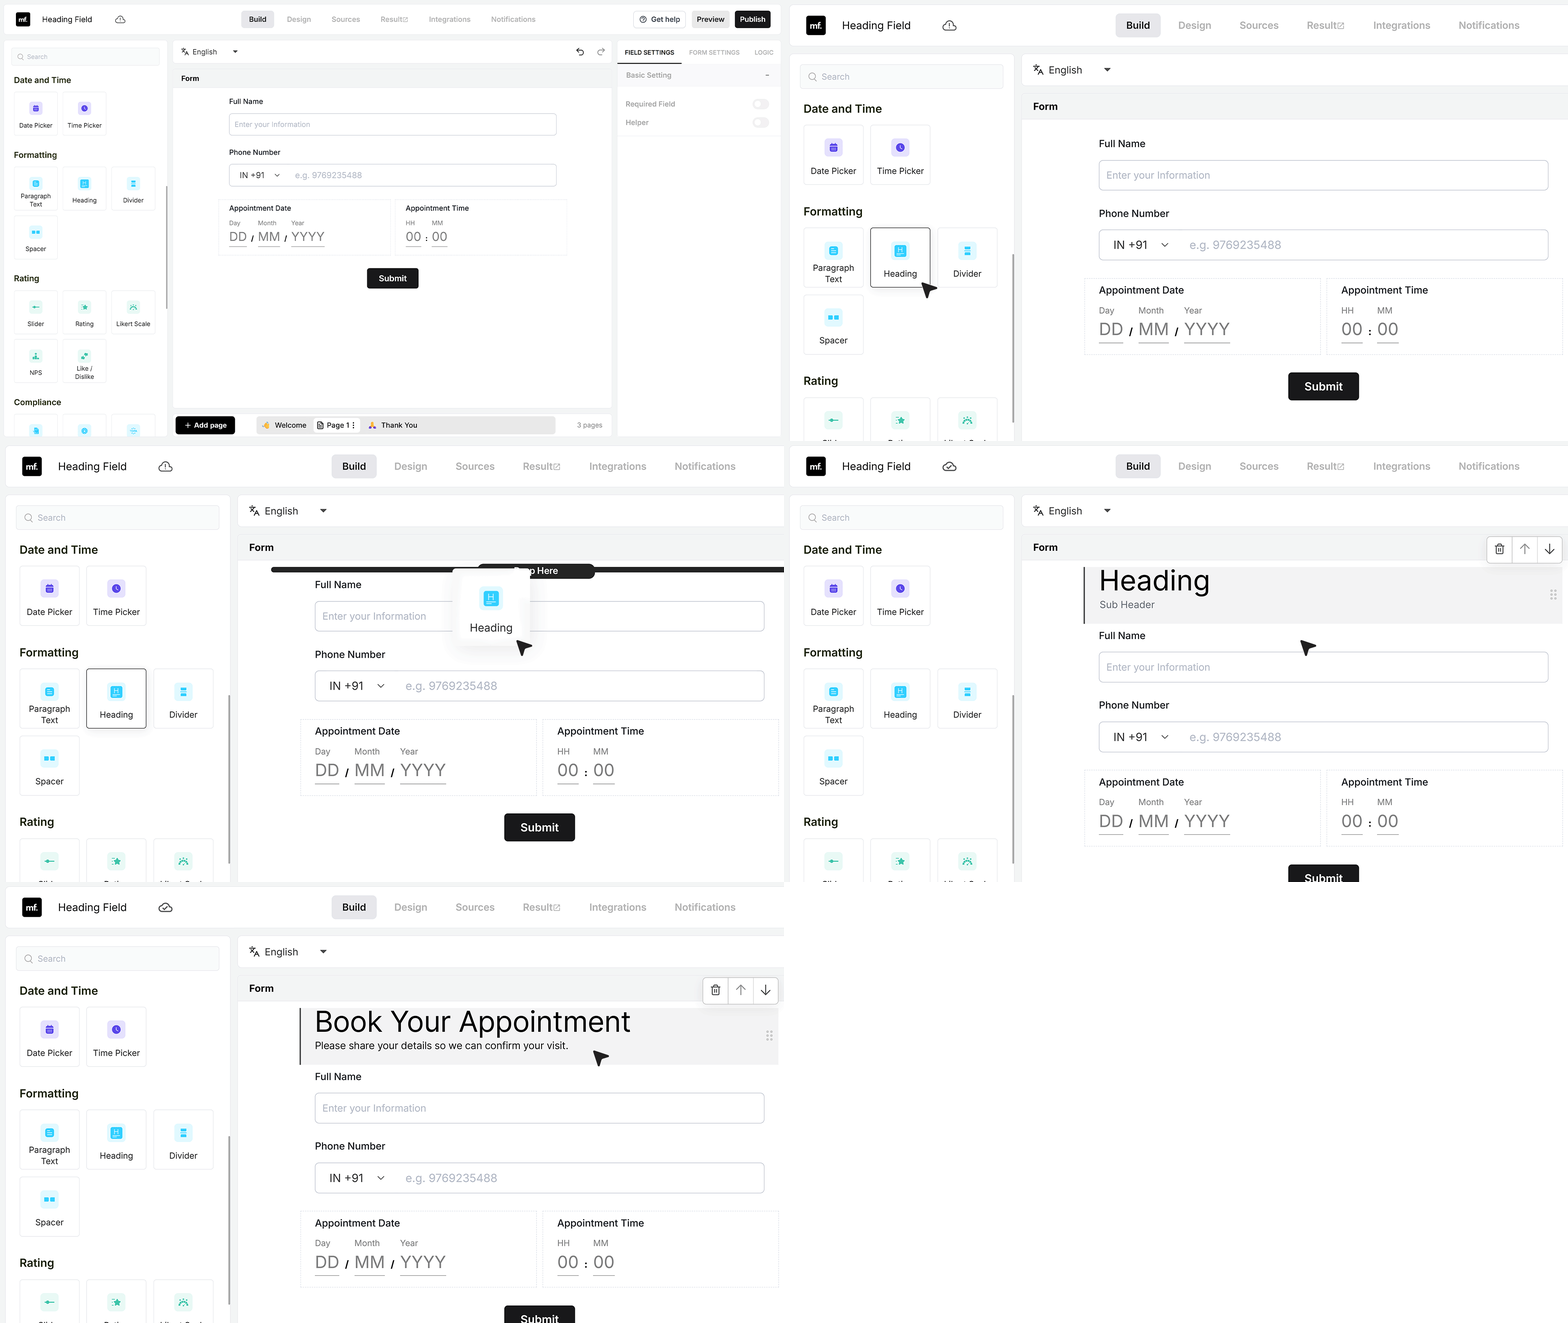
In this example, we’re working with a simple appointment form that already has fields like Name, Phone Number, and Appointment Date and Time. At the very top of this form, we’ll add a Heading field so the form has a clear title.
To get started, drag a Heading field into your form. Here you can type your main heading and a short subheading to explain what the form is for.
Basic Settings
Font & Font Weight
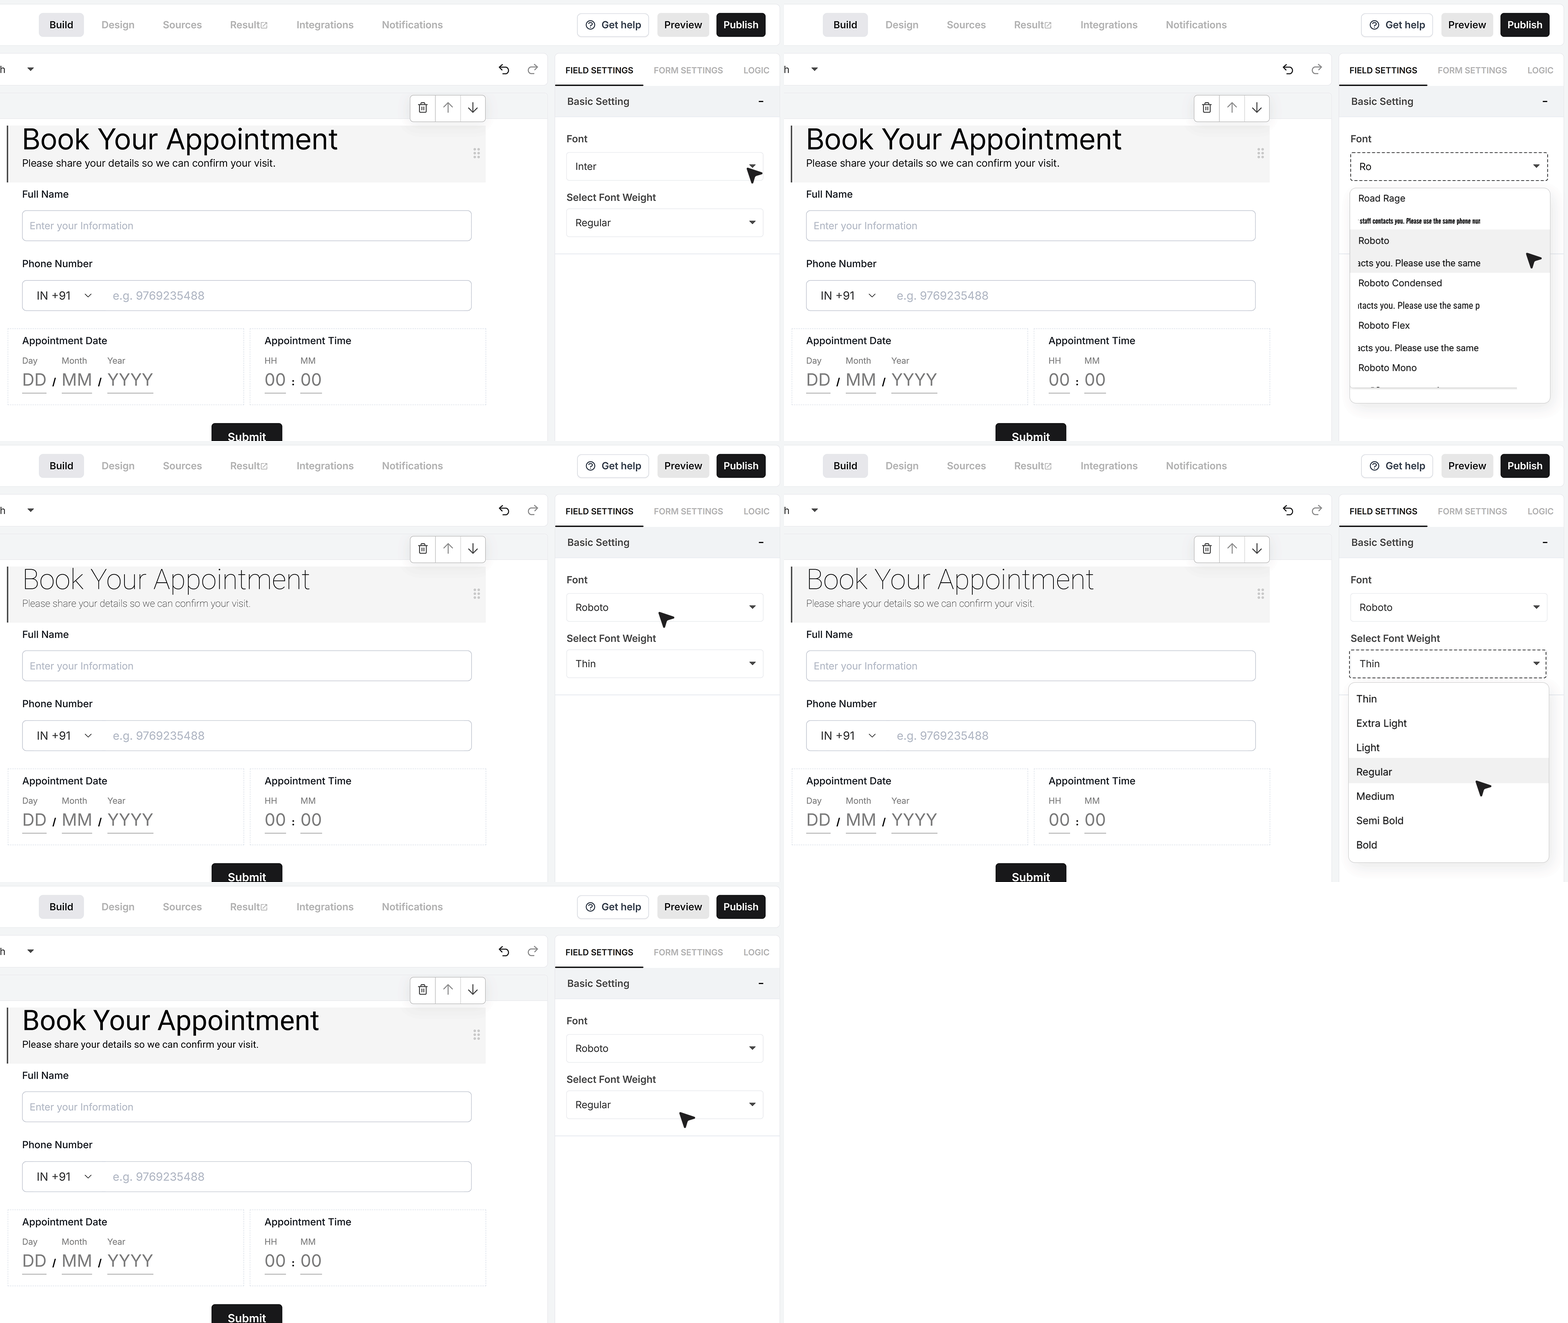
When you select the Heading field, you will see its settings on the right side.
The Font setting lets you choose which font family to use for the heading and subheading. This helps you match the form with your website or brand. For example, if your site uses the Roboto font, you can select Roboto here so the form heading looks consistent with your pages.
The Font Weight setting controls how light or bold the heading and subheading text appear. A lighter weight will make the text feel softer. A bolder weight will make it stand out more. The same weight applies to both the heading and the subheading.
Text formatting toolbar
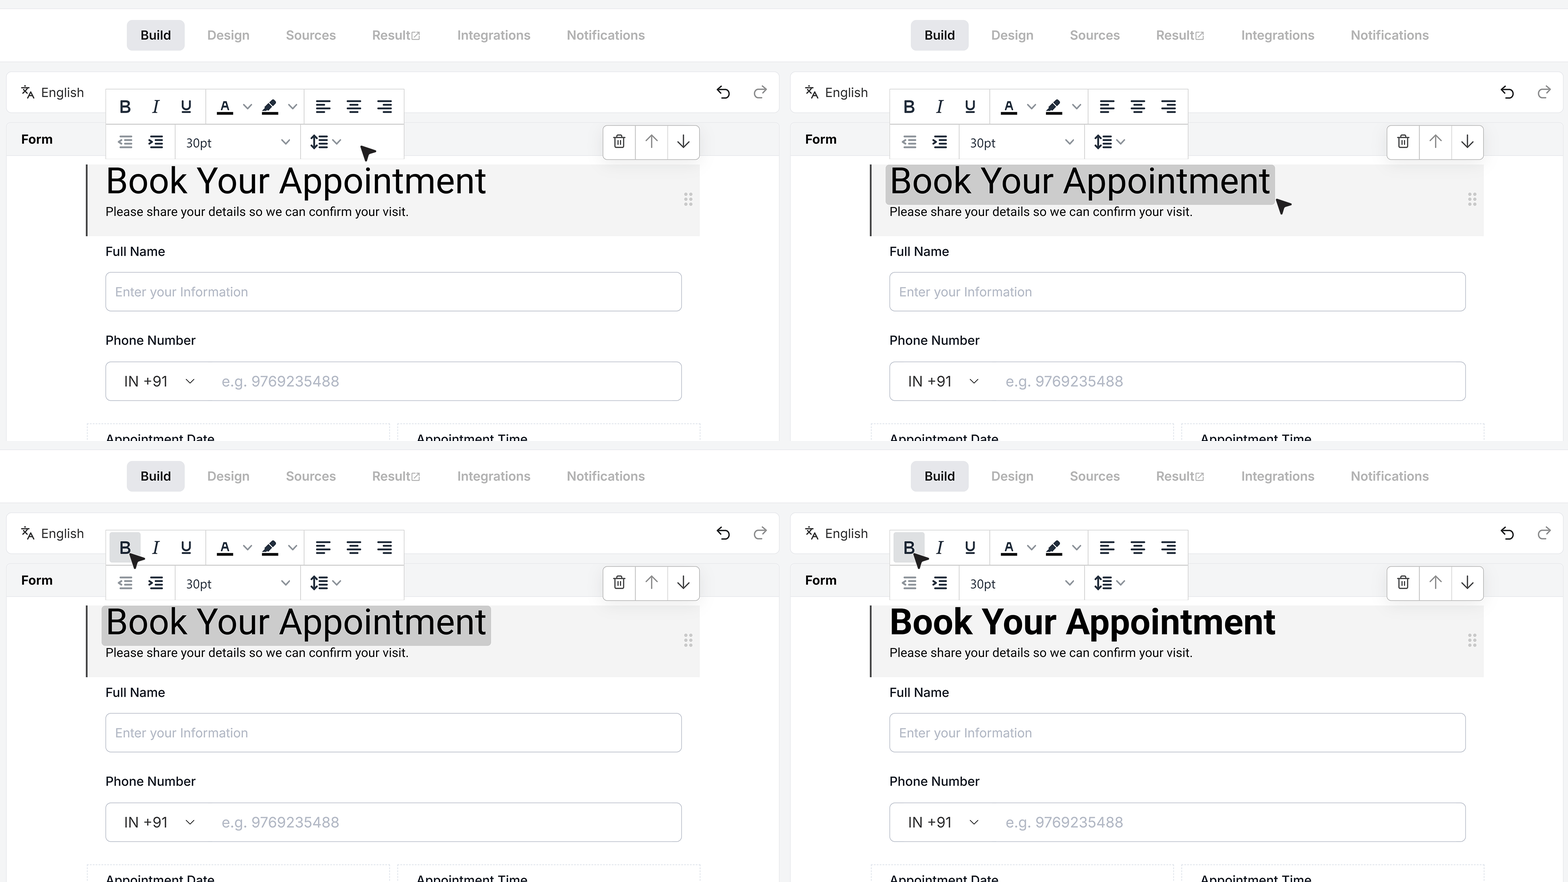
- When you hover over the Heading field in the editor, a formatting bar appears. This bar lets you style the heading and subheading without leaving the form builder.
You can make text bold, italic, or underlined to draw attention. For example, you can make the whole line "Book your appointment" bold so it stands out as the main title.
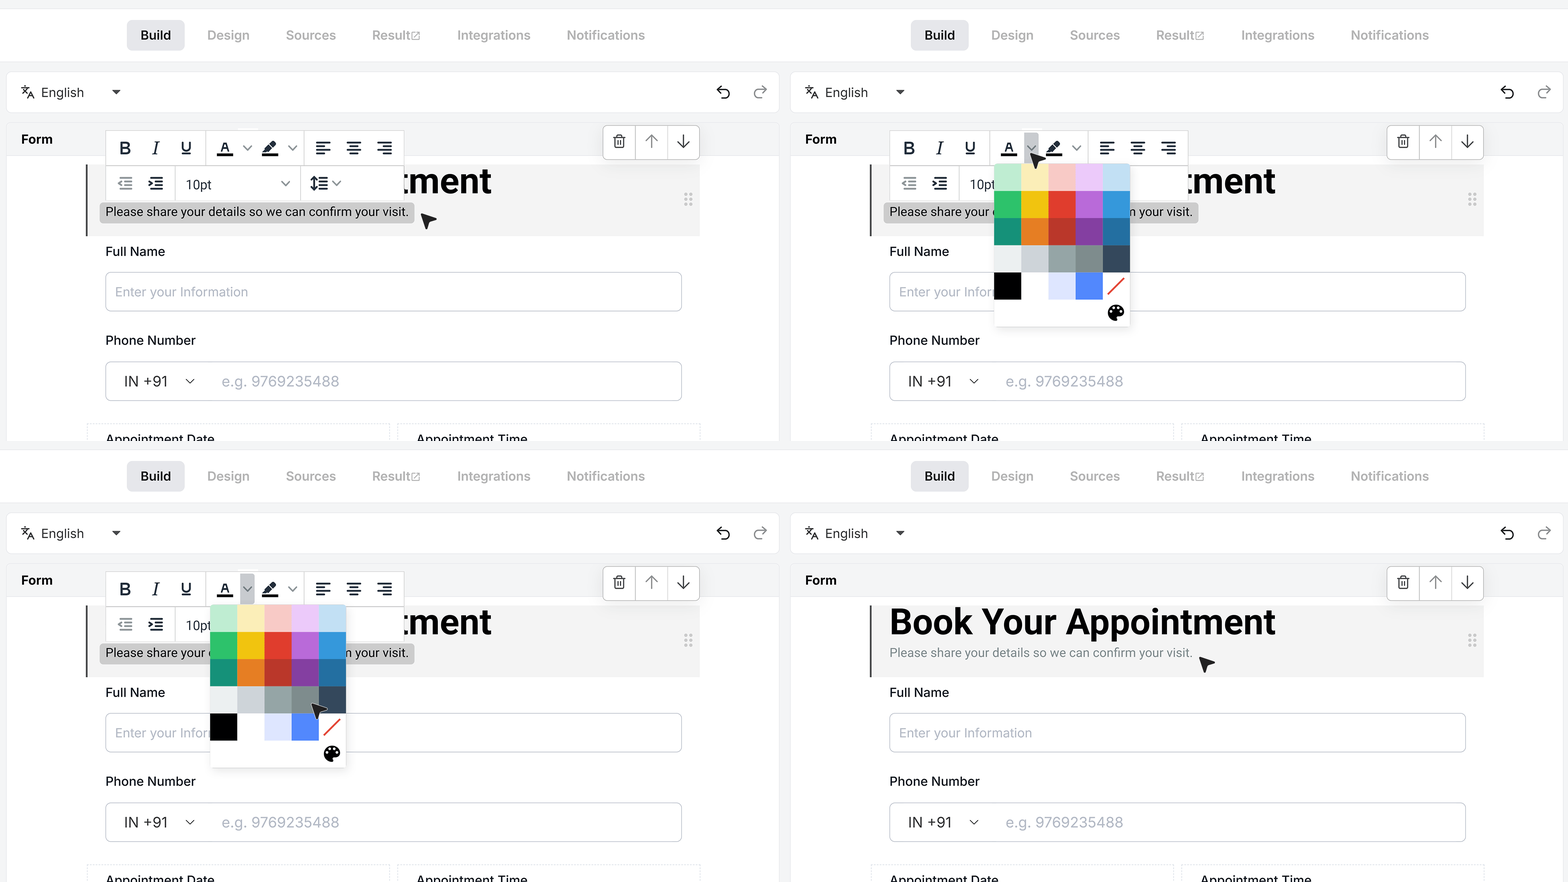
- You can change the text color and the background color for the heading block. For example, you can keep the heading in a darker color and use a lighter color for the subheading so it feels soft and easy to read. .
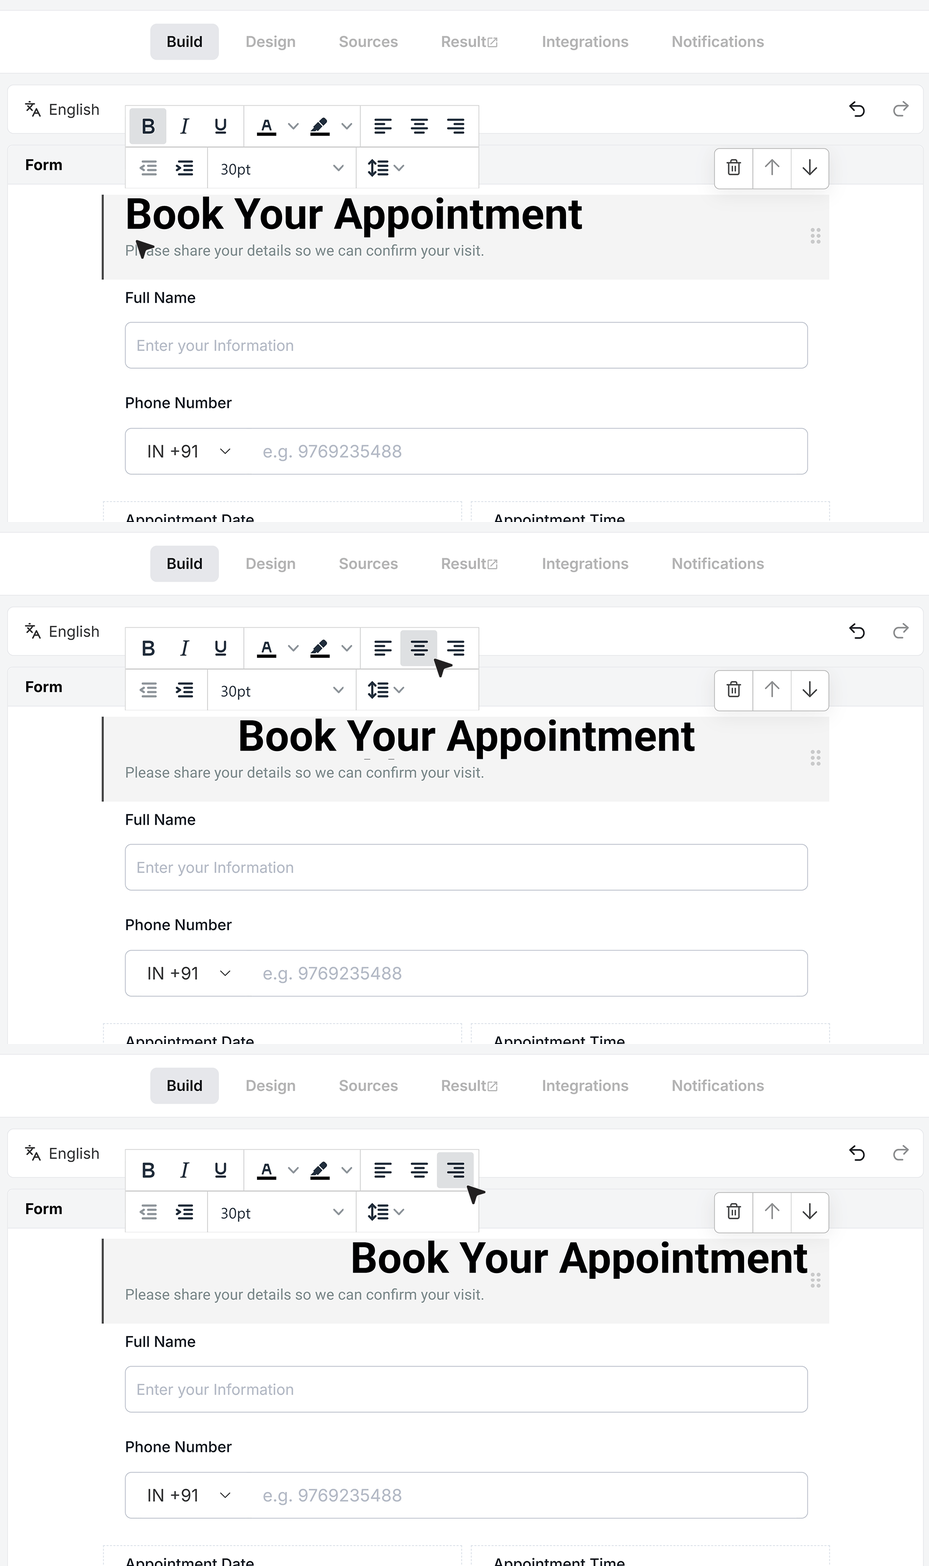
- MakeForms uses left alignment by default, which keeps the heading in line with the form fields that follow. If you prefer a different look, you can switch the alignment to center or right from the settings. For many forms, left alignment works well and feels natural, so in this appointment example you can leave it as it is.
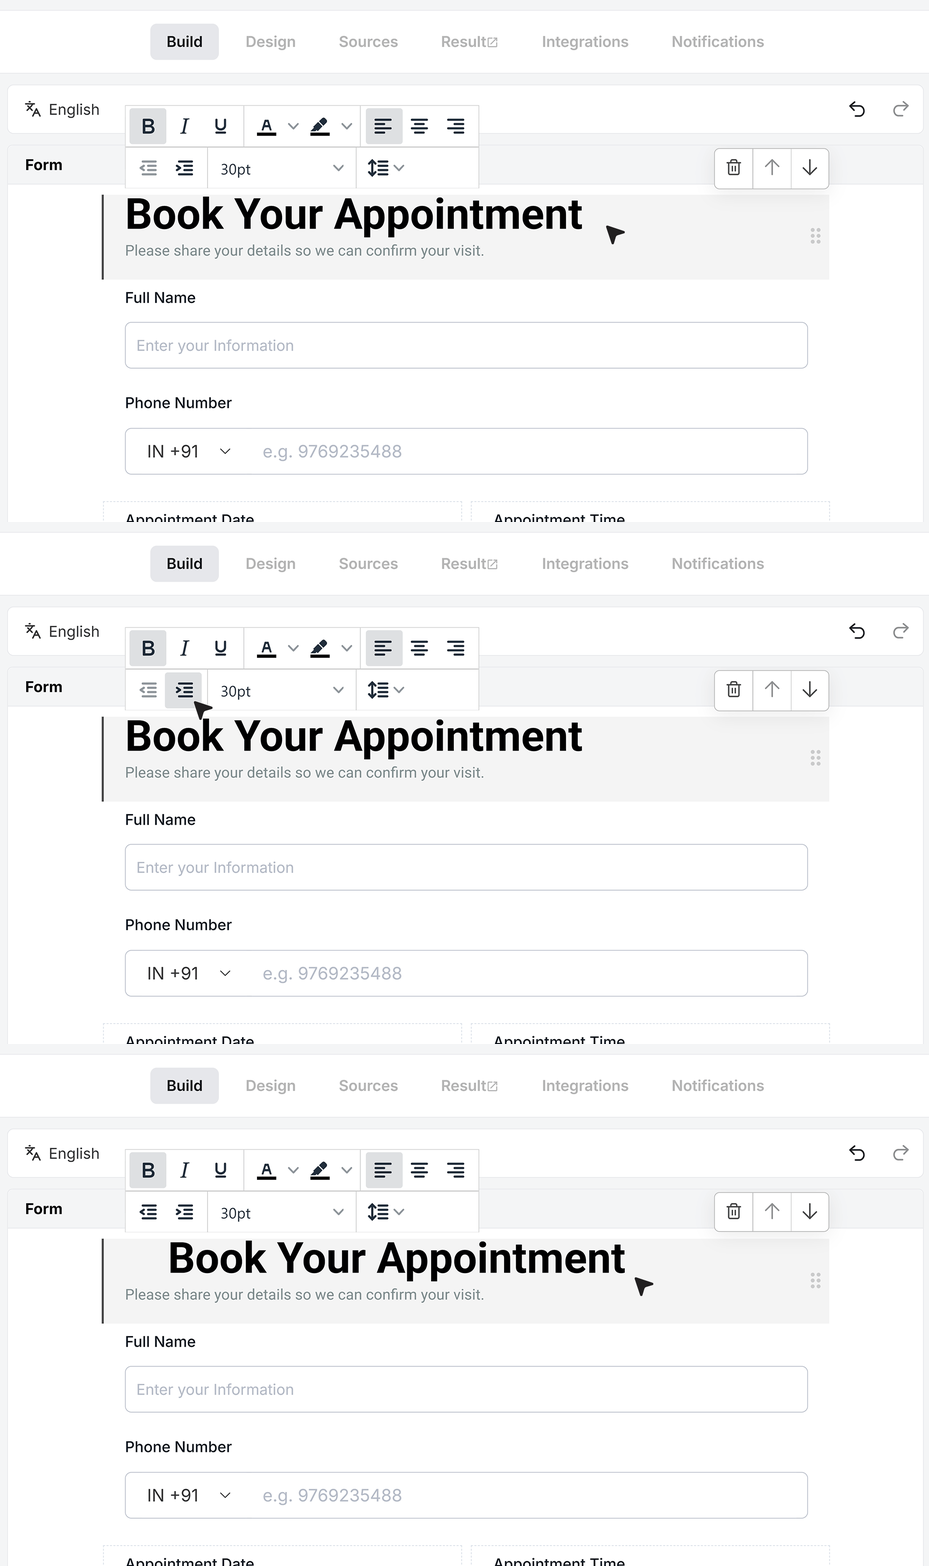
- Indent controls how far the text begins from the left edge. It’s useful when you want to shift certain lines inward or create a small visual hierarchy within your text.
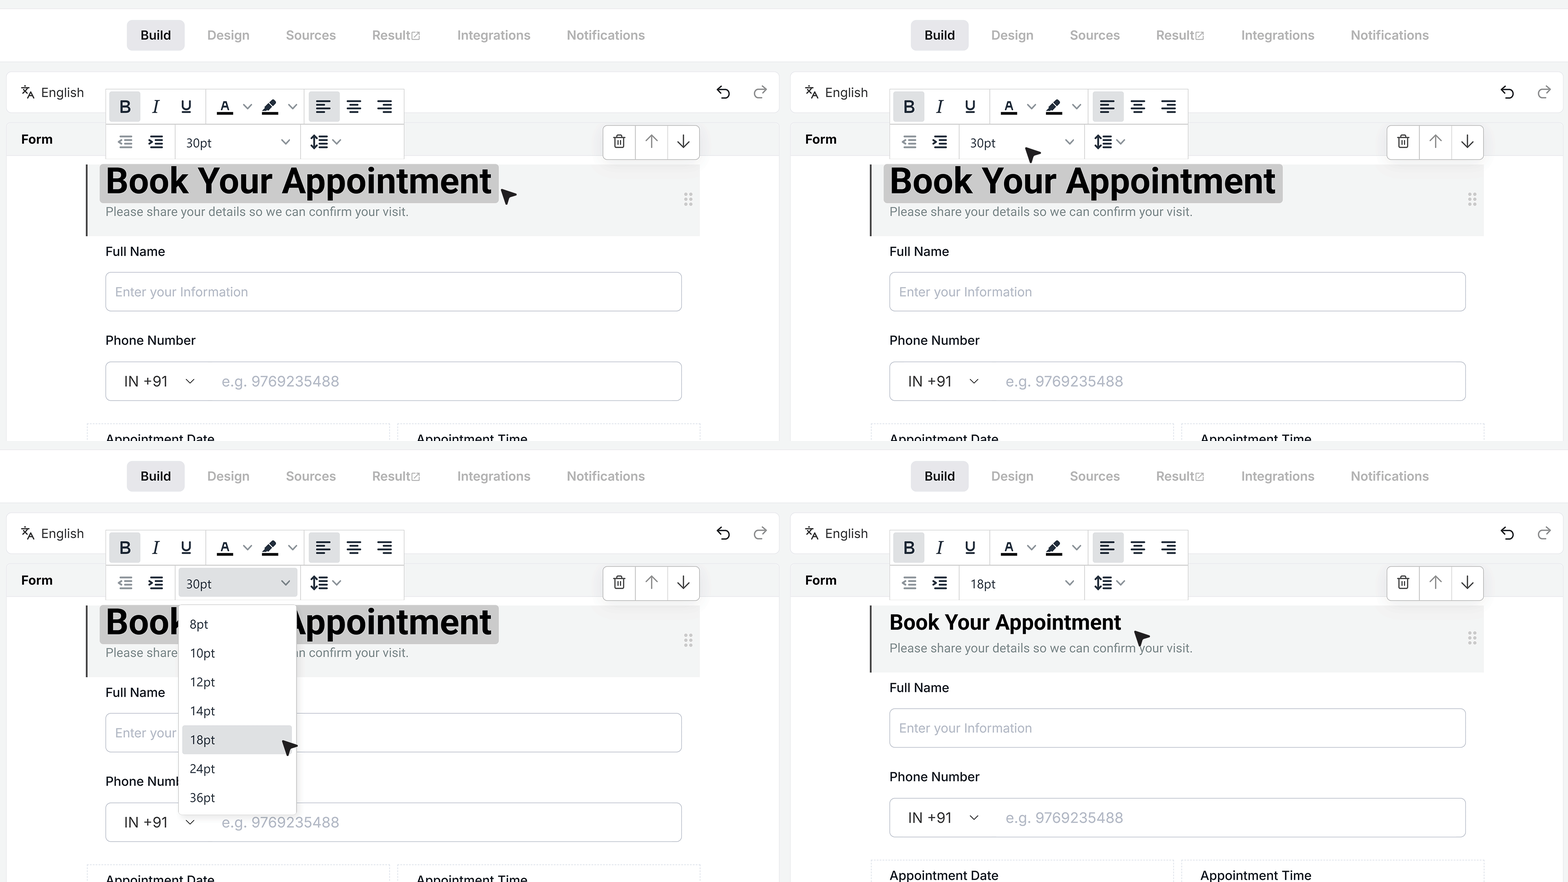
- You can adjust the font size to make the heading or subheading more noticeable or more subtle, depending on your layout.
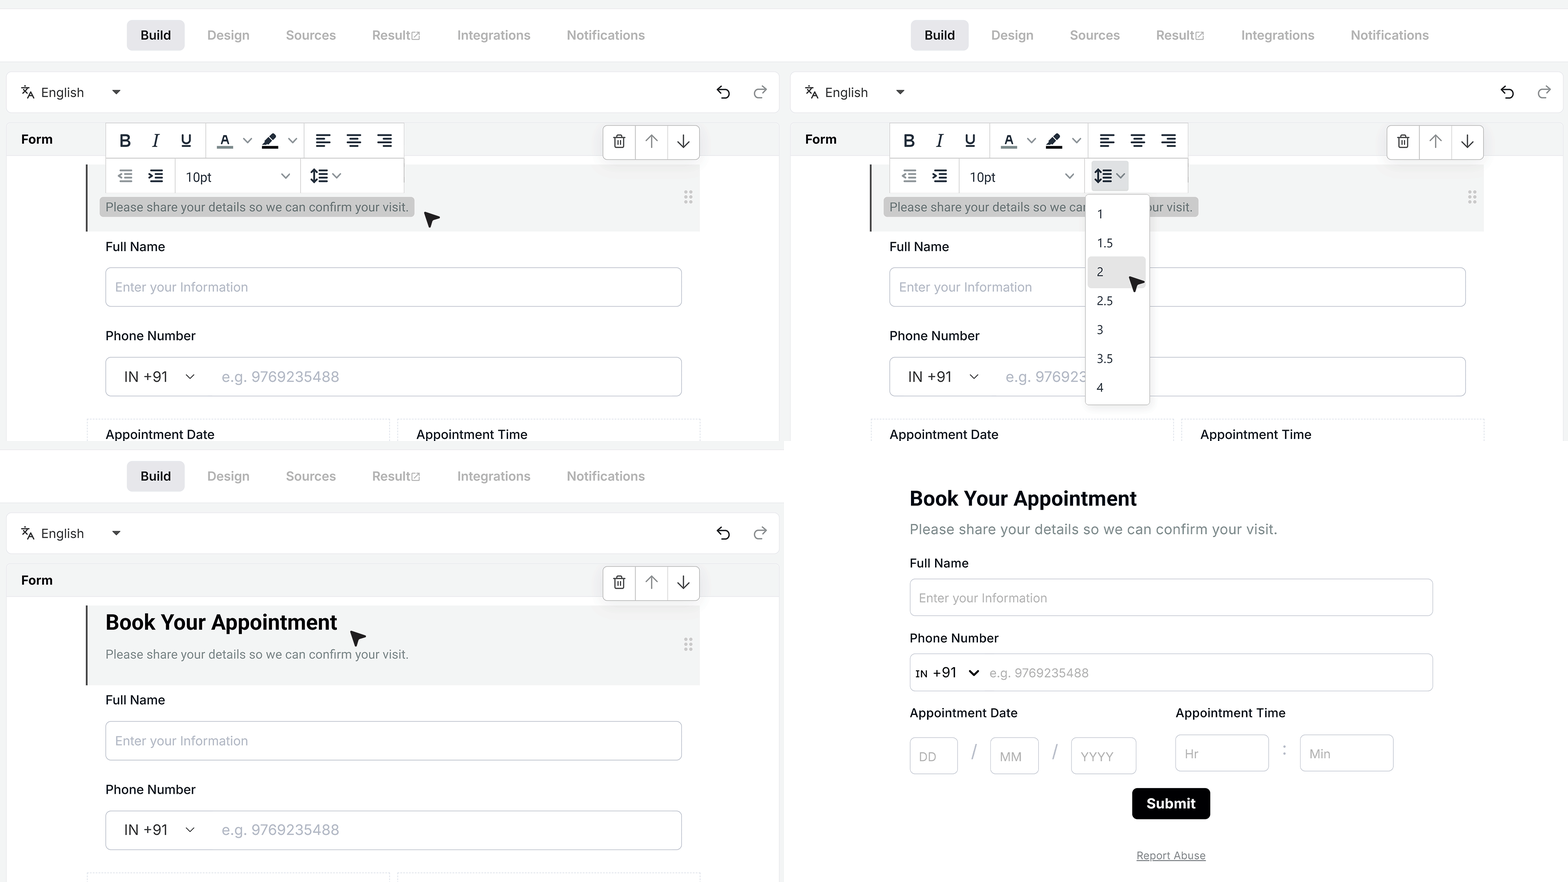
- After you set the size, you can fine tune the line height. Line height controls the space between lines. If the heading and subheading look too close to each other, you can increase the line height slightly so the block feels open and easy to read on both desktop and mobile.
FAQ's
In MakeForms, the Heading field is meant to be the main title block at the top of the form, with a heading and a short subheading to explain what the form is for. Use the main heading for the form purpose, and the subheading for one line of context like what the user needs to do next. Keep it readable by setting font, font weight, size, and line height so the heading and subheading do not feel cramped on desktop or mobile. You can also use alignment, indent, text color, and background color to create clear visual sections.
In MakeForms, the editor UI shows a language selector (example shows “English” in the builder toolbar), so the normal approach is to switch the form language in the builder, then enter the heading and subheading for that language. After adding languages, verify each language version in Preview to confirm spacing, line height, and wrapping look correct.
The Heading field documentation shows rich text styling controls like bold, italic, underline, colors, alignment, indent, font size, and line height, but it does not mention HTML or custom code support inside the Heading field. If you need custom HTML, use a field or block that explicitly supports custom HTML/embed, or add the custom markup outside the form and keep the MakeForms heading as plain styled text.
A static heading is fixed text that stays the same for every user, like a form title and description. A dynamic heading changes based on data, like showing the user’s name, a selected option, or a value calculated from earlier fields. The MakeForms Heading field, as documented, is a static title block with formatting and layout controls, and it is not described as pulling values from user input.
The MakeForms Heading field supports alignment changes, including switching from the default left alignment to right alignment. For right-to-left languages, set alignment to right, pick a font that supports the script, then adjust line height and font size so multi-line headings stay readable. Always test the form in Preview on both desktop and mobile to catch wrapping issues.
The Heading field documentation only shows text formatting and layout controls, not an icon setting. The simplest way is to add an icon as a Unicode character or emoji directly in the heading text. If you need a real icon image, place an Image field near the top next to the heading area, or use theme-level CSS (only if your platform supports it) to add an icon via styling rather than inside the Heading field itself.