Image Field
The Image Field lets you place an image inside your form. It is a display-only field, so it does not collect any response from users. People often use it for logos, banners, instructions, or a visual example that helps users answer the next question.
Add an Image Field to your form
Open your form in the builder and add the Image Field from the fields panel. An image placeholder will appear on the form canvas..
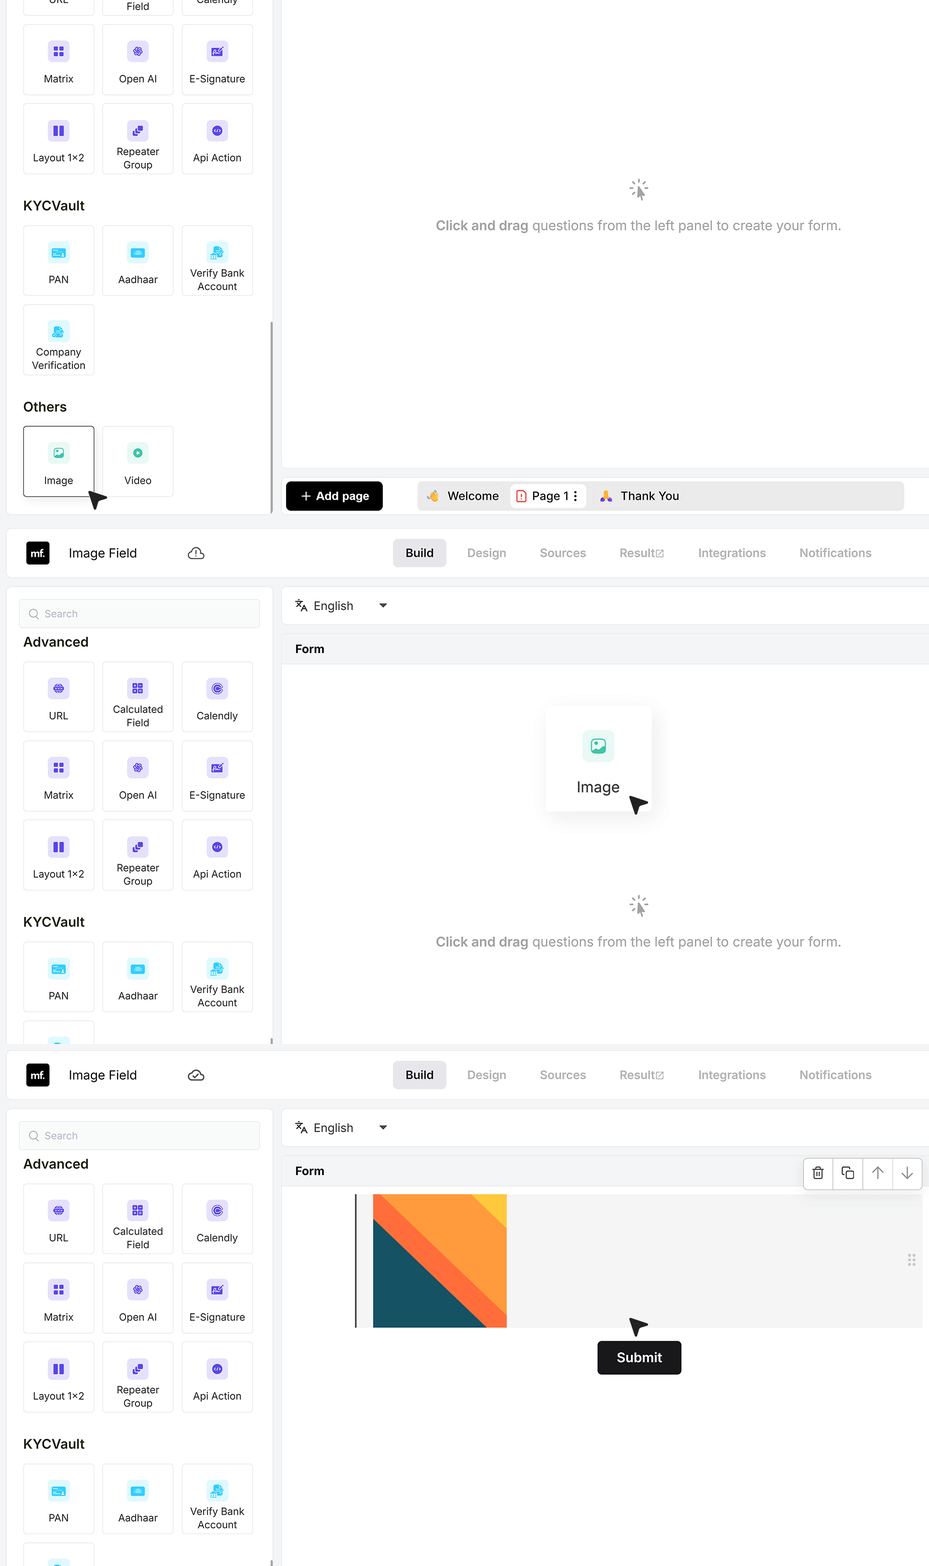
Choose an image
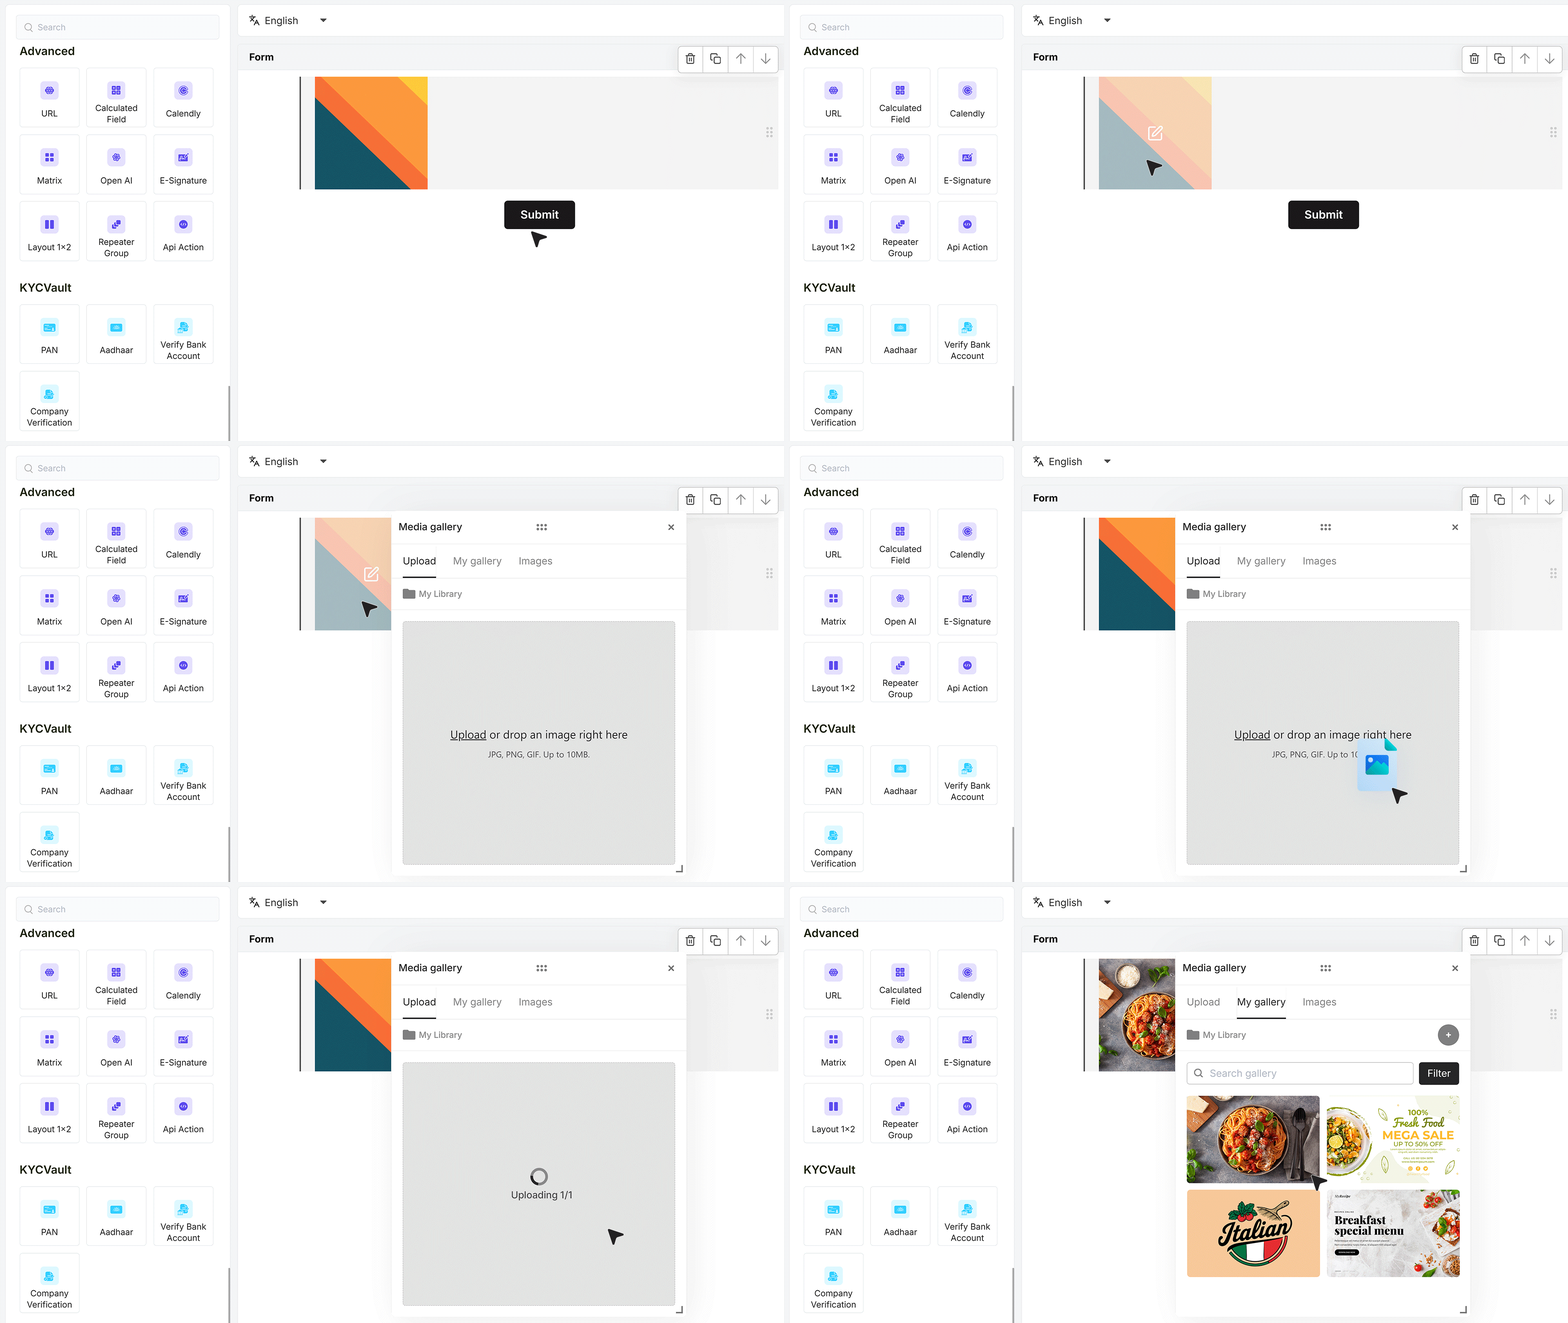
- Hover over the Image Field in the editor. You will see an edit icon on the image area. Click the icon to open the Media Gallery. In the Media Gallery, you can add or pick an image in a few ways.
If you want to add a new image, use Upload. After the upload finishes, that image is also saved to My Gallery, so you can reuse it later in other forms.
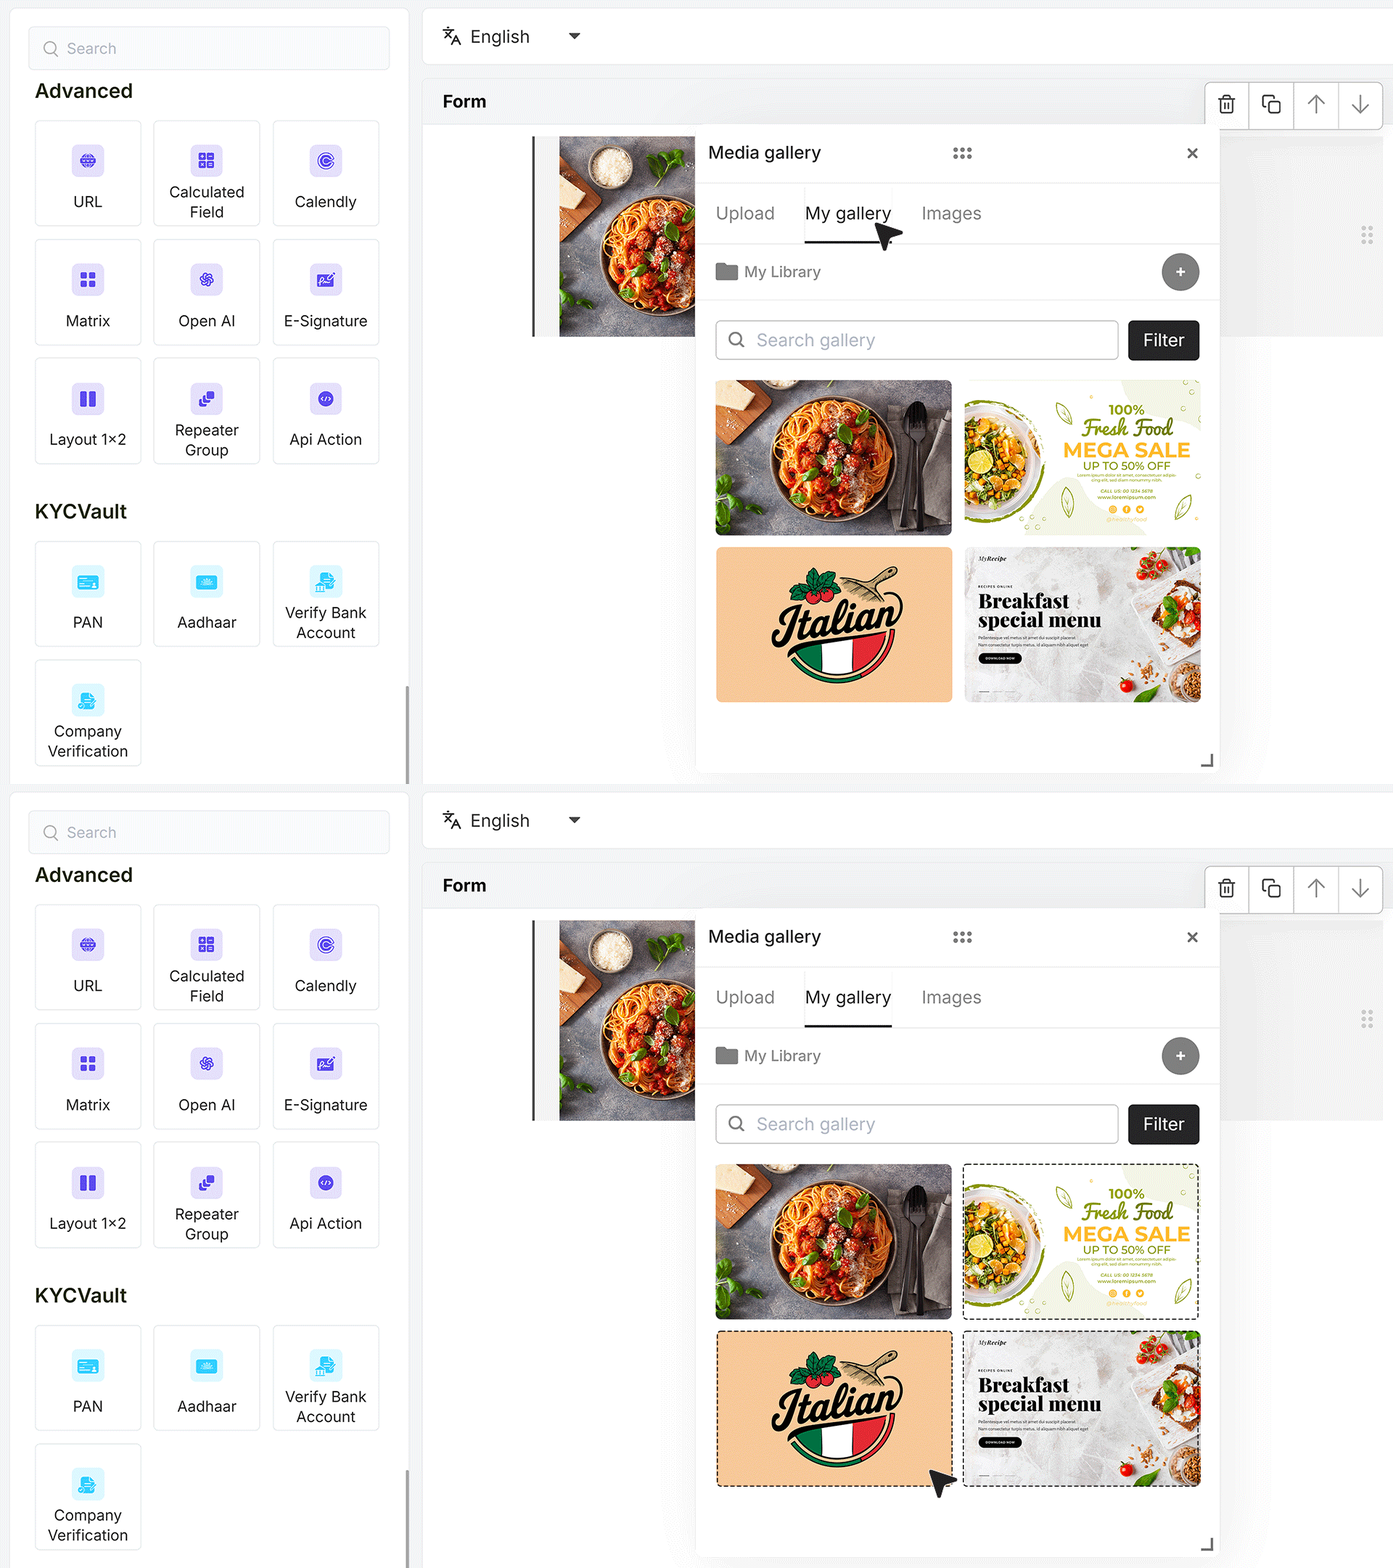
- If you want to reuse an image you already added before, open My Gallery and pick it from the list. This is handy when you use the same logo or header image across multiple forms.
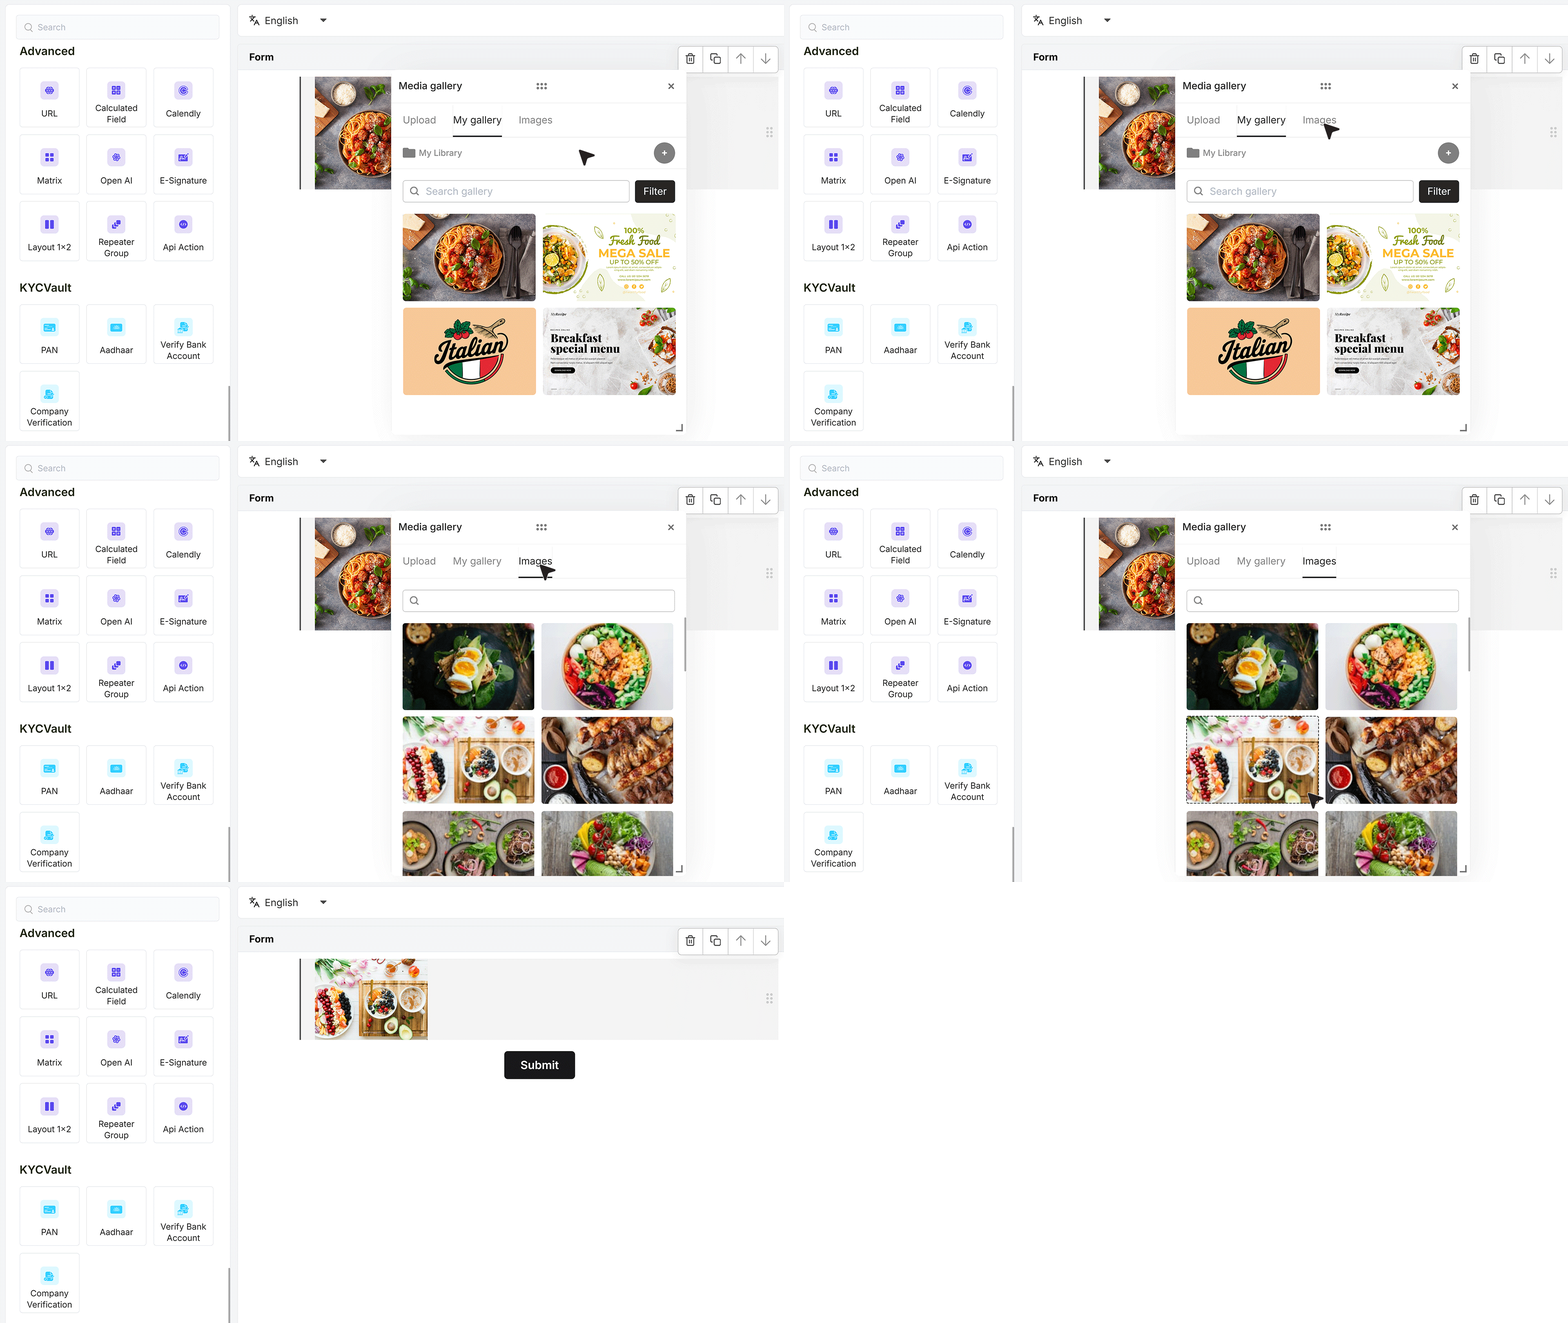
- If you want to use an image from the built-in image library, select it from the library list. After you pick an image, close the Media Gallery. The image will show in your form right away.
Basic Settings
Set alignment
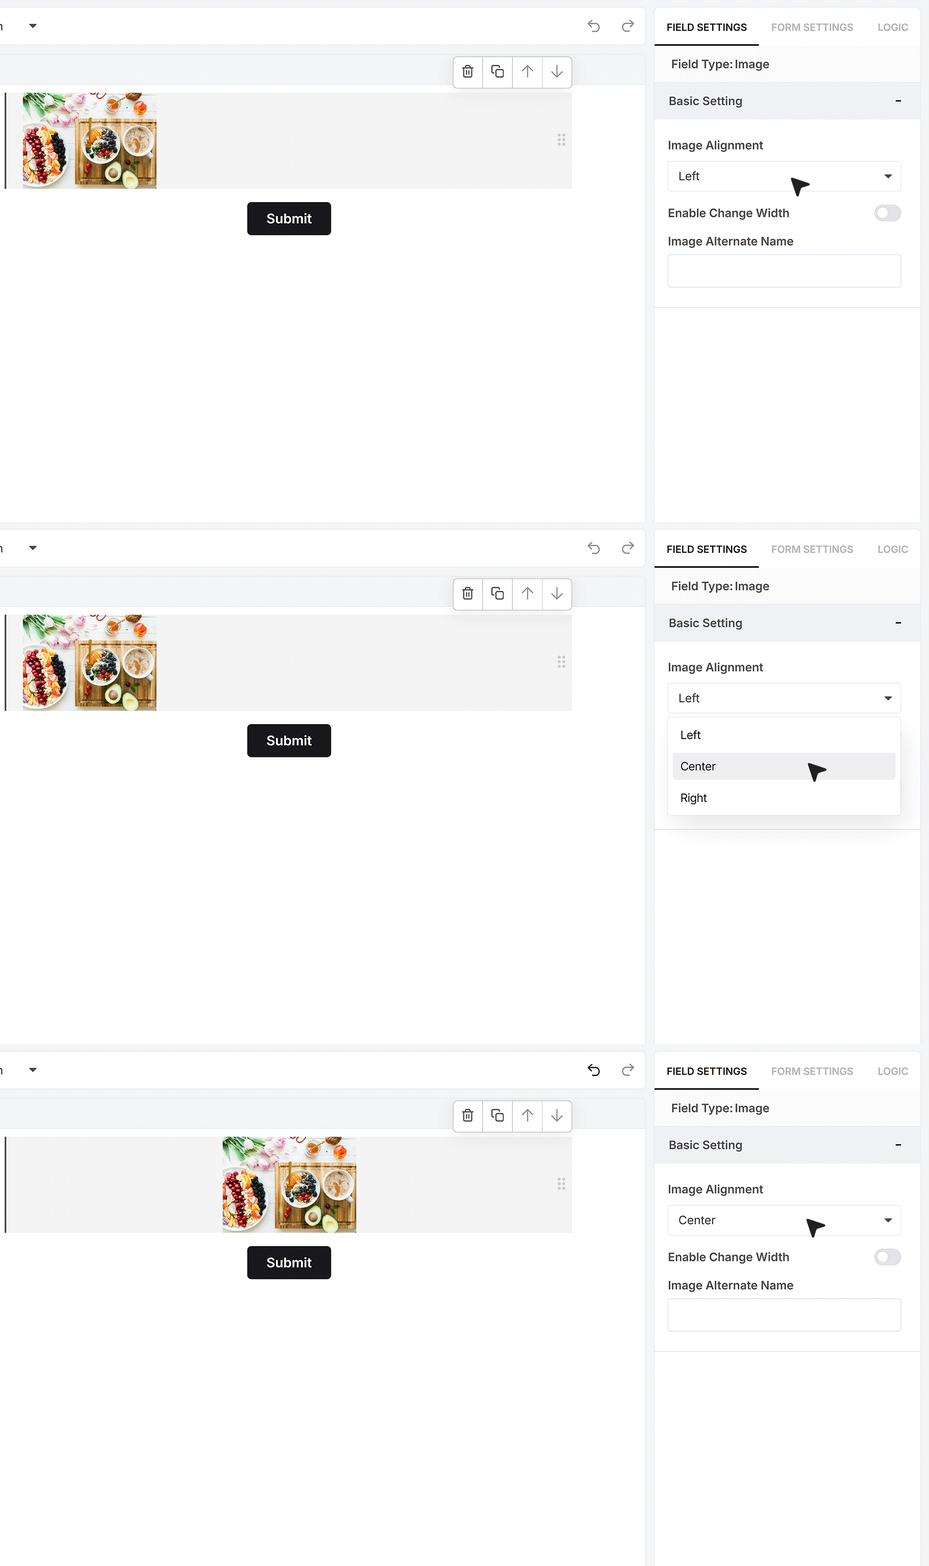
Select the Image Field, then open its settings on the right-side panel. Use the alignment option to choose where the image sits in the form layout, left, center, or right. If you are following a common layout, keep it set to Center.
Change image width
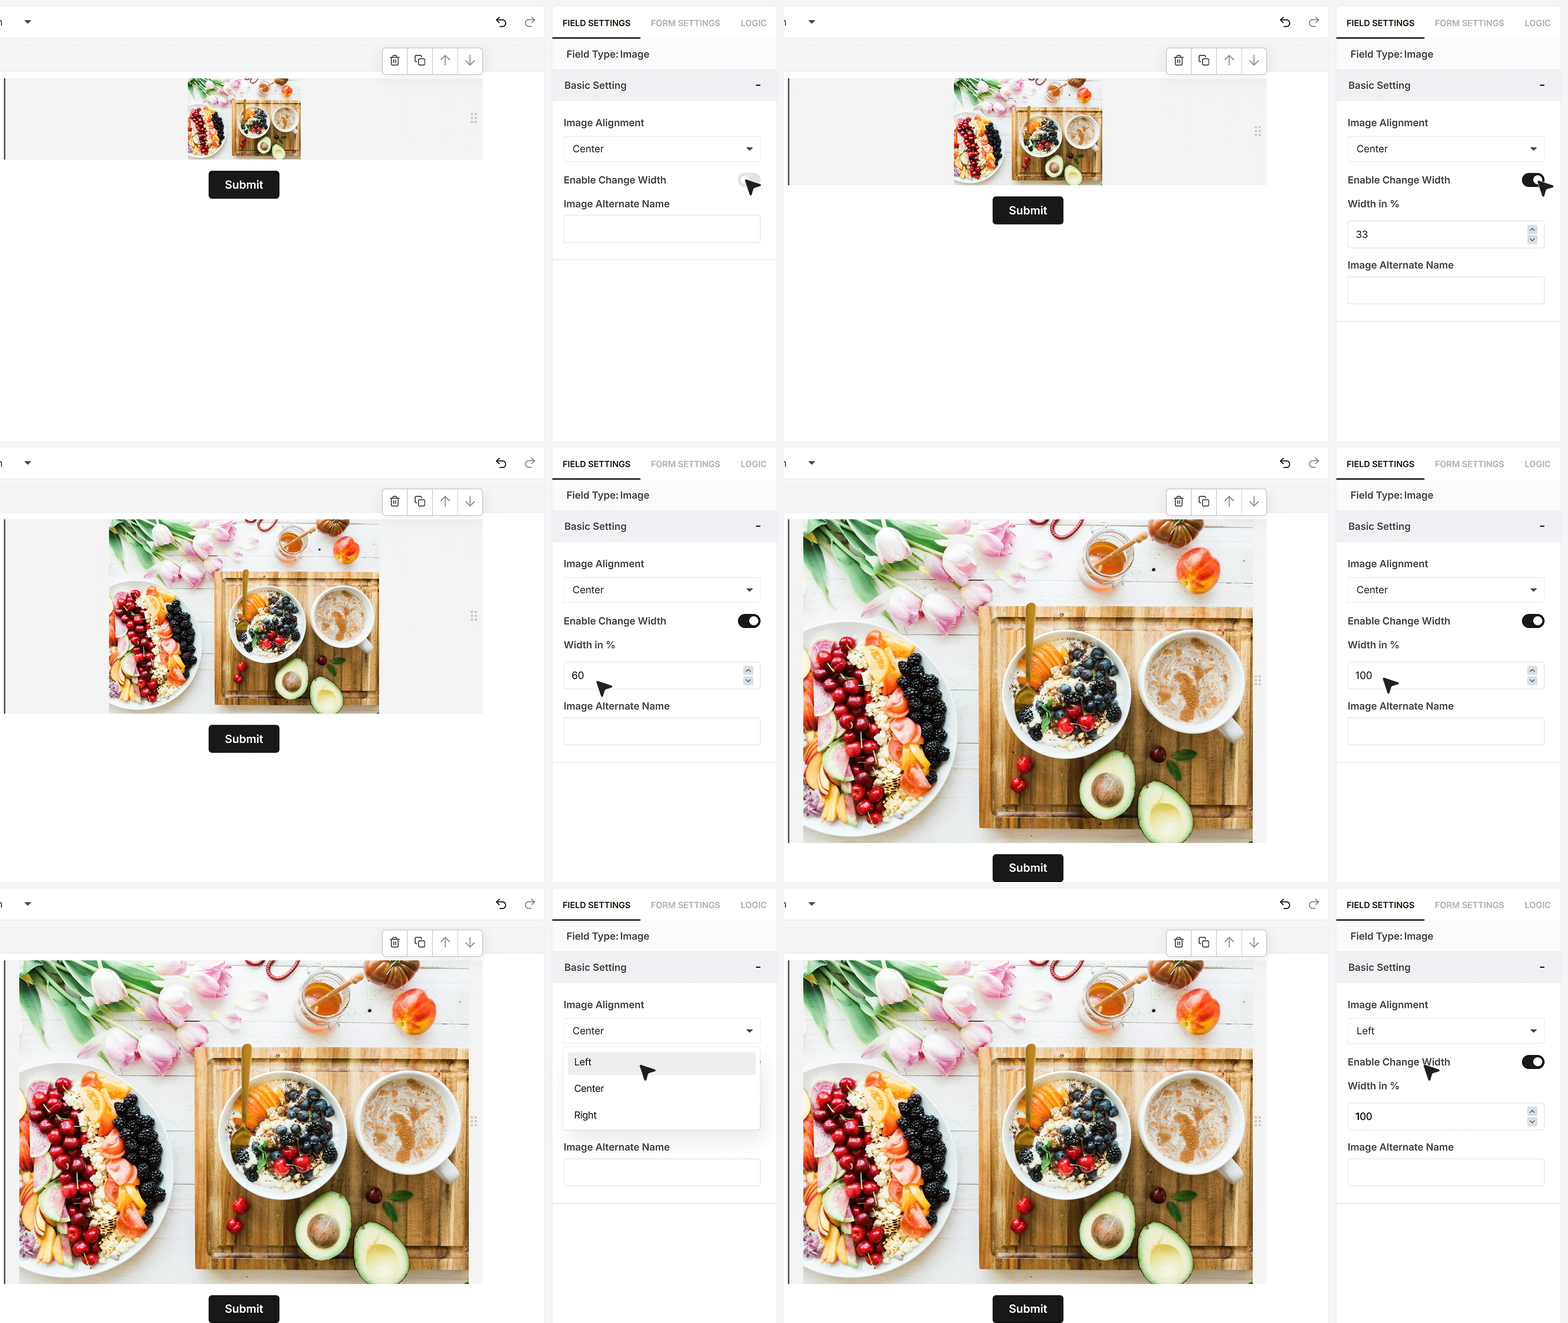
In the same settings panel, turn on Change Width when you want to set a custom image size. Once enabled, you will see Width (%).
Enter a percentage to control how much space the image takes inside the form. Lower values make the image narrower and leave more empty space around it. Higher values make it wider. The preview updates as you change the value, so you can adjust until it looks right.
If you set the image to full width, alignment will not apply because the image already fills the container.
Add Image Alternate Name
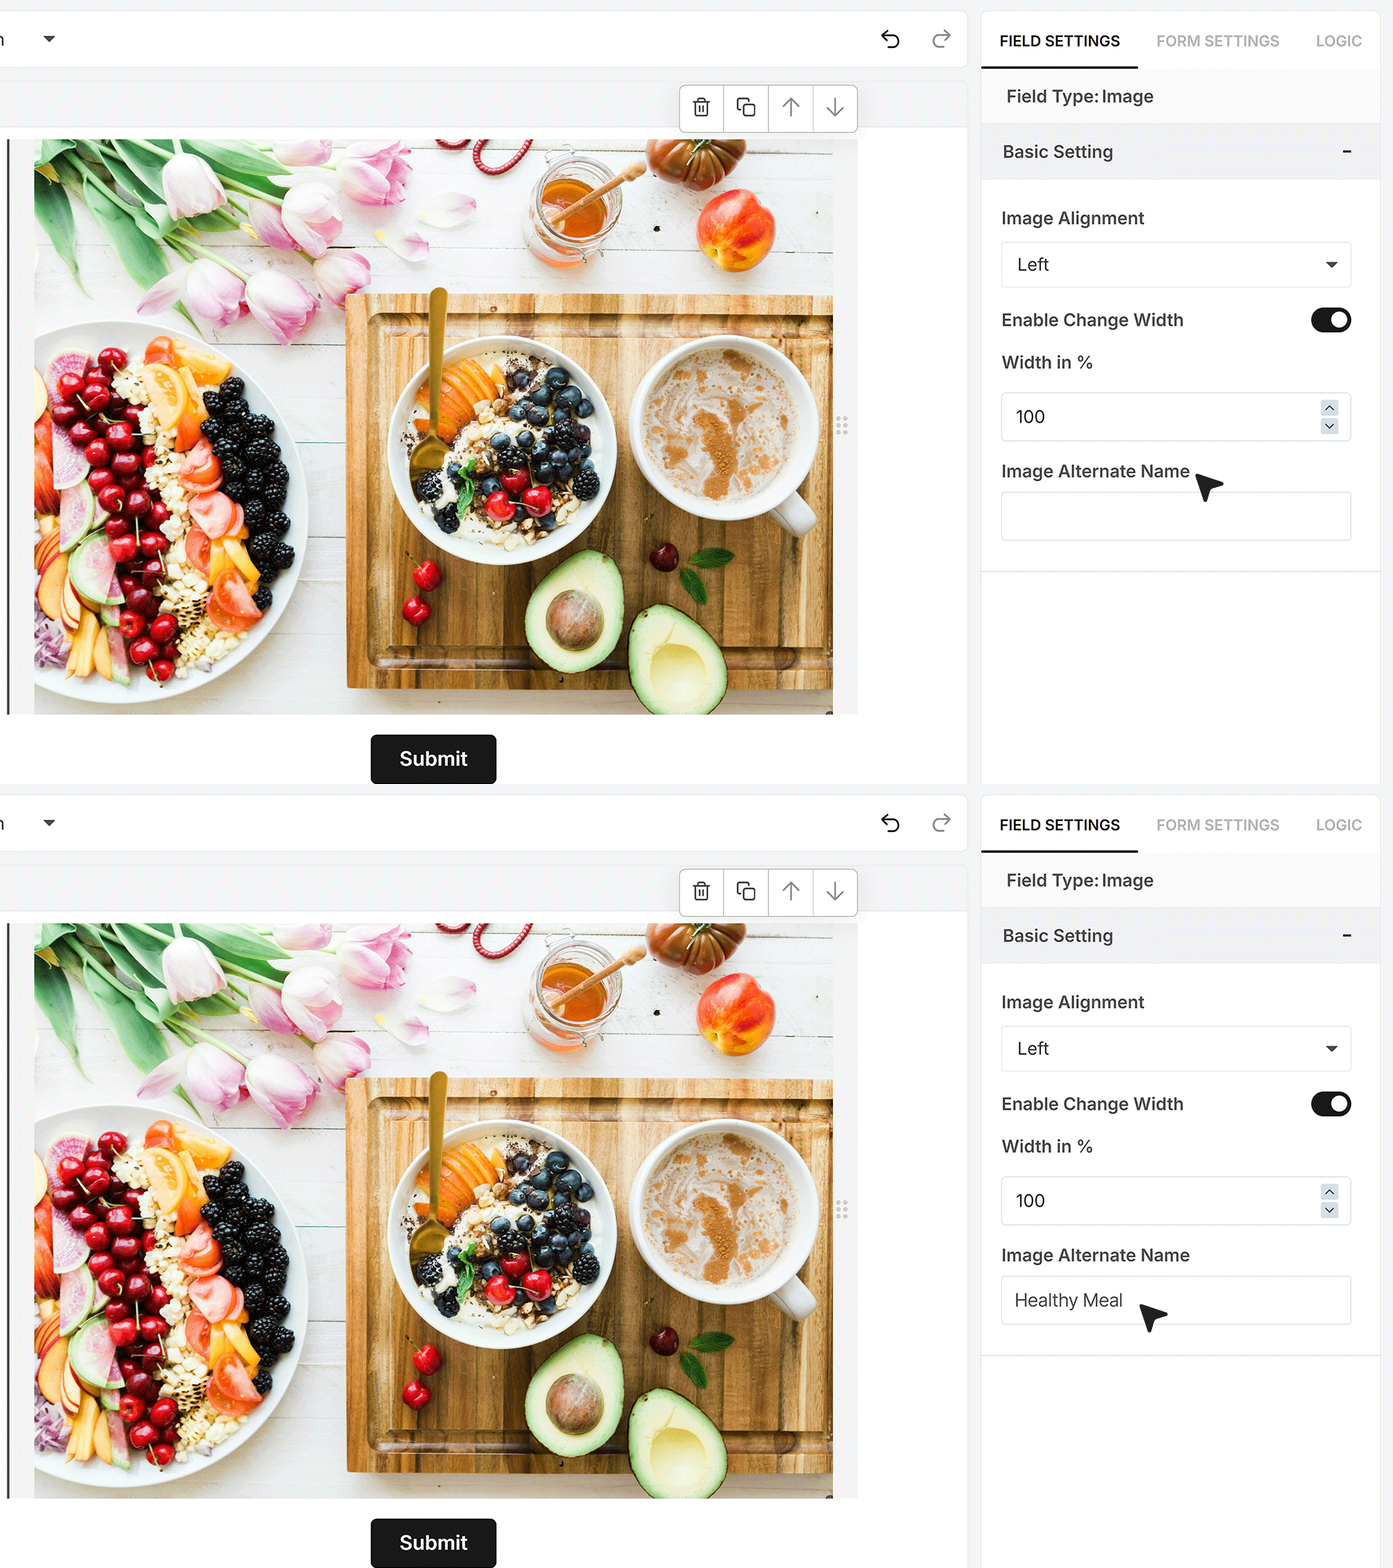
Use Image Alternate Name to add alt text for the image. This helps with accessibility and gives a useful description if the image does not load.
Publishing the form
Publish the form. Check the image on desktop and mobile to make sure it is clear. If you use a partial width, confirm the alignment looks correct. Add alt text for any image that carries meaning, like instructions or a key banner.

FAQ's
An Image Field is a display-only field used to show images inside a form. It does not collect any user input. You can use it to add logos, banners, instructions, or visual examples that help users understand the form better.
To add an image, open your form builder and select the Image Field from the fields panel. Once added, click on the image area to open the Media Gallery and upload or select an image.
No. The Image Field is only for display. It does not allow users to upload or submit images. If you want users to upload files, you should use a file upload field instead.
You can use logos, banners, icons, screenshots, or instructional images. Many people use images to guide users or make the form more engaging.
Yes. Once you upload an image, it is saved in your gallery. You can reuse it in any other form without uploading it again.
You can adjust the image width using the width setting. Set the width in percentage to control how much space the image takes in the form layout.
You can align the image to the left, center, or right from the settings panel. If the image is set to full width, alignment will not apply.
Alt text is a short description of the image. It helps with accessibility and improves SEO. It also shows when the image does not load, giving users context.
Yes. Images can make forms easier to understand and more engaging. For example, adding instructions or visual cues can reduce confusion and help users complete the form faster.
Yes. You can use images to explain steps, show examples, or guide users on how to answer a question. This is useful for surveys, onboarding forms, and feedback forms.
Yes. Images are responsive and will adjust to different screen sizes. It is still a good idea to preview your form on mobile before publishing.
Use percentage-based width instead of fixed size. This ensures the image adjusts properly across different screen sizes.
Yes. Many people add logos or brand visuals at the top of forms to keep a consistent brand look.
It depends on your layout, but medium-sized images with optimized file size work best. Avoid very large images as they can slow down loading.
This can happen if the image was not uploaded correctly or if there is a loading issue. Try re-uploading the image and check your connection.
Yes. You can add multiple Image Fields anywhere in your form to display different images.
No. It is optional and only used when you want to add visual content.
Yes. You can select images from the built-in library or upload your own images using the Media Gallery.
If images are optimized, the impact is minimal. Large image files can slow down form loading, so it is best to use compressed images.
Preview your form on both desktop and mobile. Make sure the image is clear, aligned properly, and not too large or too small.